Introduction
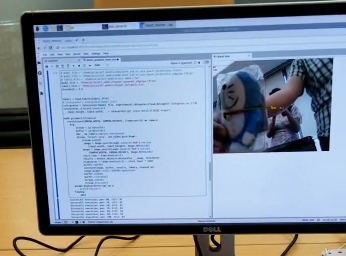
In the last tutorial, we learnt how to create datasets for training a custom object detection model. Once we have the training, validation and testing datasets, training a model with Google’s Colab is very straightforward.
Note: If you are not familiar with Colab, make sure you check out this tutorial and try using it first.
Upload the datasets to Colab
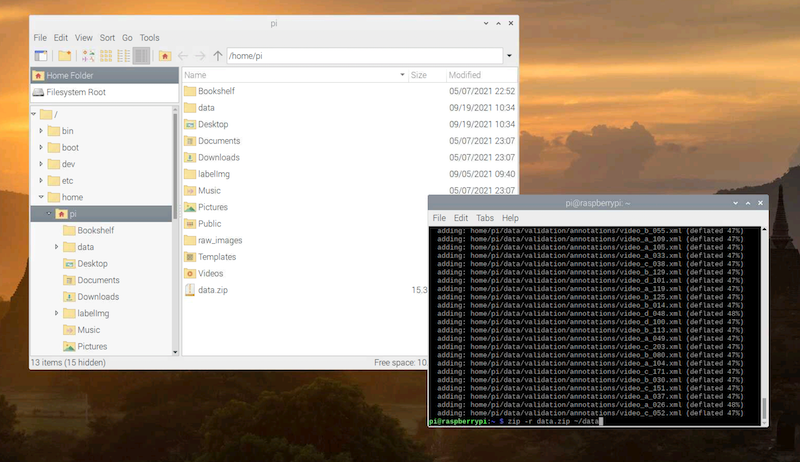
Suppose you have made your own datasets for training an object detection model. To make it easier to upload the datasets. Run the following command in the Terminal.
pi@raspberrypi: ~ $ zip -r data.zip ~/data
Note: If you receive the
zip: command not founderror, entersudo apt install zipto install the zip tool first.
Then, we open the Chromium web browser and go to Google’s Colab https://colab.research.google.com/. In the top menu, click File → New notebook.
Note: You will need to log on with a Google account before you can proceed.
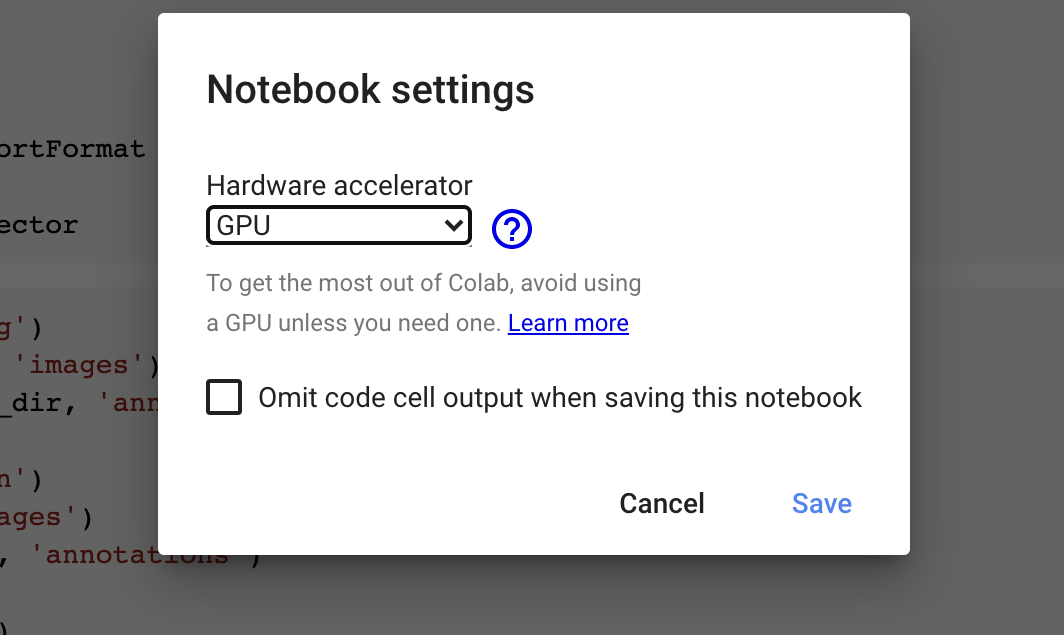
We will need to use the GPU of Colab to accelerate the training. Click Runtime → Change runtime type in the top menu. Then, select “GPU” in the Hardware accelerator dropdown menu and click Save.
Click the Connect button on the right to start a Colab session. Once the session is started, click the ‘folder’ button on the left to open the file manager. Drag the zip file of the object detection datasets directly to the file manager or click the Upload to session storage button to upload the file.
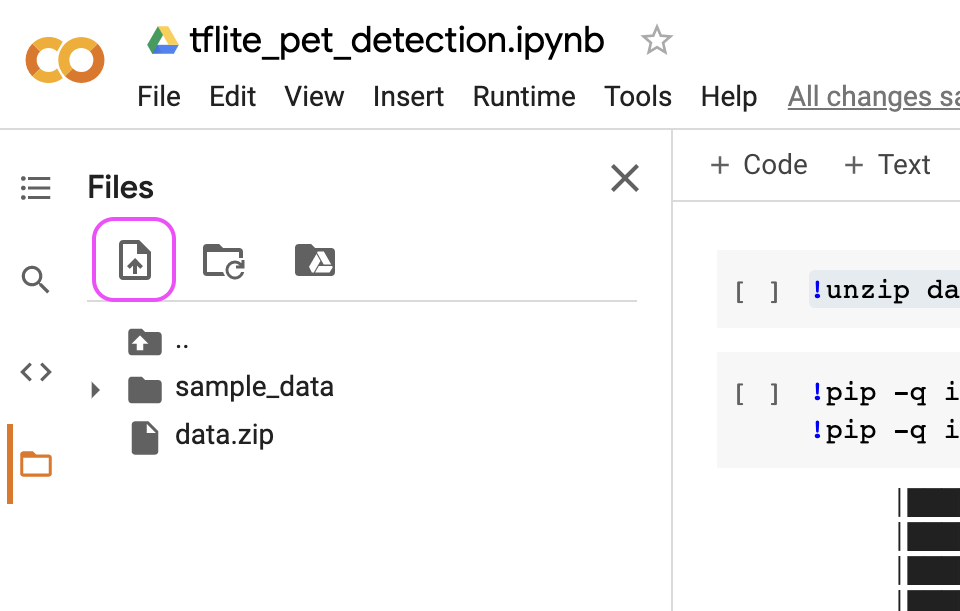
We can unzip the data file by using the unzip command of Linux. Execute the following command in a cell.
!unzip data.zip
Note: To execute a Linux command rather than Python codes in Colab, add an exclamation mark
!before the Linux command.
Install and import the libraries
The TensorFlow Lite Model Maker library and its dependencies are not installed in the Python environment of Colab by default. Therefore, we need to install it by using pip. Execute the following commands to install them.
!pip -q install tflite-model-maker
!pip -q install pycocotools
Once the libraries and the dependencies are installed, we can import them.
import os
import numpy as np
import tensorflow as tf

from tflite_model_maker.config import ExportFormat
from tflite_model_maker import model_spec
from tflite_model_maker import object_detector
Set up the working directories
Before we train the model, we define a few variables for referencing the directories containing the training, validation and testing datasets.
train_dir = os.path.join('data', 'training')
train_image_dir = os.path.join(train_dir, 'images')
train_annotation_dir = os.path.join(train_dir, 'annotations')

val_dir = os.path.join('data', 'validation')
val_image_dir = os.path.join(val_dir, 'images')
val_annotation_dir = os.path.join(val_dir, 'annotations')

test_dir = os.path.join('data', 'testing')
test_image_dir = os.path.join(test_dir, 'images')
test_annotation_dir = os.path.join(test_dir, 'annotations')
Load a pre-trained model
Since our datasets are relatively small, training our custom object detection model from the ground up is extremely difficult. We can deal with this difficulty with a technique called transfer learning. In short, we use a pre-trained model that has been trained with a large dataset and fine-tune some parameters of the models with our own datasets.
The following are the pre-trained object detection models that we can use with TensorFlow Lite Model Maker for transfer learning:
| Model architecture | Size(MB)* | Latency(ms)** | Average Precision*** |
|---|---|---|---|
| EfficientDet-Lite0 | 4.4 | 37 | 25.69% |
| EfficientDet-Lite1 | 5.8 | 49 | 30.55% |
| EfficientDet-Lite2 | 7.2 | 69 | 33.97% |
| EfficientDet-Lite3 | 11.4 | 116 | 37.70% |
| EfficientDet-Lite4 | 19.9 | 260 | 41.96% |
As we can see, models with higher efficiency also have lower precision and vice versa. If we use a Raspberry Pi only, we probably should use a more efficient model architecture. However, if you have a Coral EdgeTPU accelerator, a higher precision model may be desirable.
Let’s just use the most efficient model as an example. We can use the get function of the model_spec module to get the model architecture.
spec = model_spec.get('efficientdet_lite0')
We will use this model as a base model and fine-tune it to fit our own datasets.
Load the datasets
An object detection dataset can contain a huge amount of data. Using the data structures of Python for storing and reading data may not be efficient enough. The TFRecord format is the preferred format for storing large amounts of data in TensorFlow. It is a simple binary format that contains a sequence of binary records. This sounds complicated, right? Fortunately, we only need to call the from_pascal_voc function of the DataLoader class of object_detector to turn our datasets into the TFRecord format.
train_data = object_detector.DataLoader.from_pascal_voc(train_image_dir, train_annotation_dir, label_map={1: 'pet'})
val_data = object_detector.DataLoader.from_pascal_voc(val_image_dir, val_annotation_dir, label_map={1: 'pet'})
test_data = object_detector.DataLoader.from_pascal_voc(test_image_dir, test_annotation_dir, label_map={1: 'pet'})
For each dataset, we specify the directories storing the images and the annotations, as well as a dictionary that maps the integers to the class names.
Train and evaluate the model
With the model architecture and the datasets ready, we can create and train the model by simply calling the create function of the object_detector module.
model = object_detector.create(
    train_data=train_data,
    model_spec=spec,
    epochs=50,
    batch_size=16,
    train_whole_model=False,
    validation_data=val_data)
As we can see, the create function takes a few arguments other than the training and the validation data. These hyperparameters can be adjusted to improve the model itself or the training time.
epoch: The number of times that the training dataset will go through the model for training. The default value is 50.batch_size: The number of images used to perform gradient descent each time.train_whole_model: If we settrain_whole_modeltoTrue, we will fine-tune the whole model instead of just training the head layer and the accuracy of the model can be improved. The trade-off is that it may take longer to train the model.
After the training, we can evaluate the model using our testing dataset.
model.evaluate(test_data)
Export the model
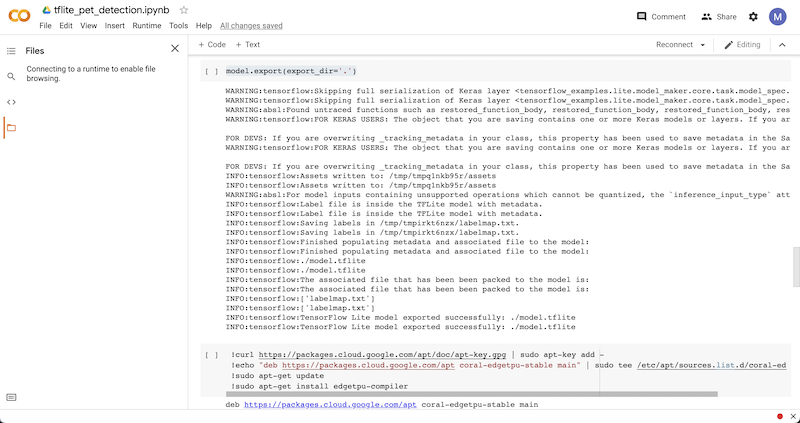
Exporting the model to the TensorFlow Lite format is straightforward. We can do it by calling the export function of the model.
model.export(export_dir='.')
If you open the file browser after calling this function, you can see the exported model file. We can right click the file and download it.
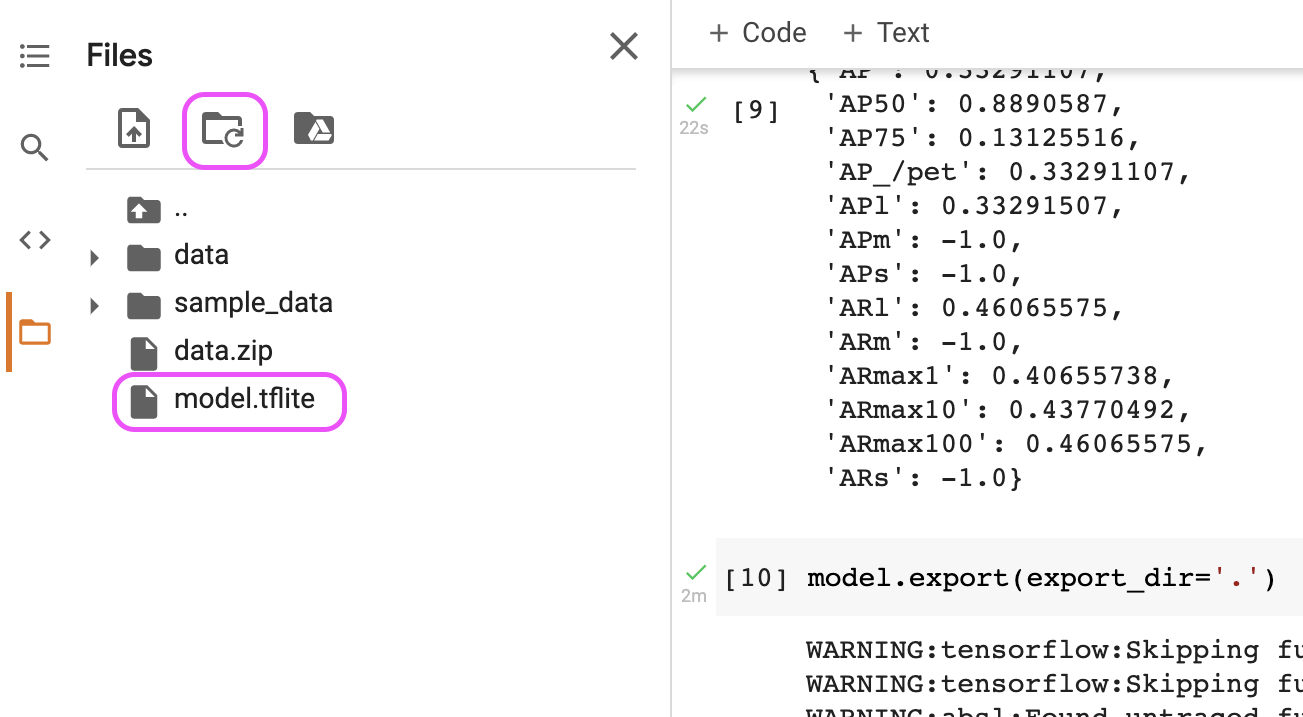
Note: You may need to click the ‘Refresh’ button in the file browser to see the newly exported file.
You can now use this model and perform object detection on Raspberry Pi directly.
We can also export the model to the EdgeTPU format.
Note: If you need to know more about how the EdgeTPU runtime can be installed and how to use EdgeTPU in a TensorFlow Lite program, check out this tutorial. The tutorial talks about image classification but the steps are essentially the same for object detection.
To export the model to the EdgeTPU format, we need to install the EdgeTPU compiler. Execute the following Linux commands to install it.
!curl https://packages.cloud.google.com/apt/doc/apt-key.gpg | sudo apt-key add -
!echo "deb https://packages.cloud.google.com/apt coral-edgetpu-stable main" | sudo tee /etc/apt/sources.list.d/coral-edgetpu.list
!sudo apt-get update
!sudo apt-get install edgetpu-compiler
Then, we use the compiler to do the conversion for us.
NUMBER_OF_TPUS =  1
!edgetpu_compiler model.tflite --num_segments=$NUMBER_OF_TPUS
After the compilation, you can download the model from the file browser.
You can find the Colab notebook here.
Conclusion
Object detection has a wide range of applications. Once we know how to turn an object detection dataset into an object detection model, we can work on a variety of projects like this Raspberry Pi object-tracking pan-tilt camera or even autonomous robot like the JetBot with your own custom datasets.