Introduction
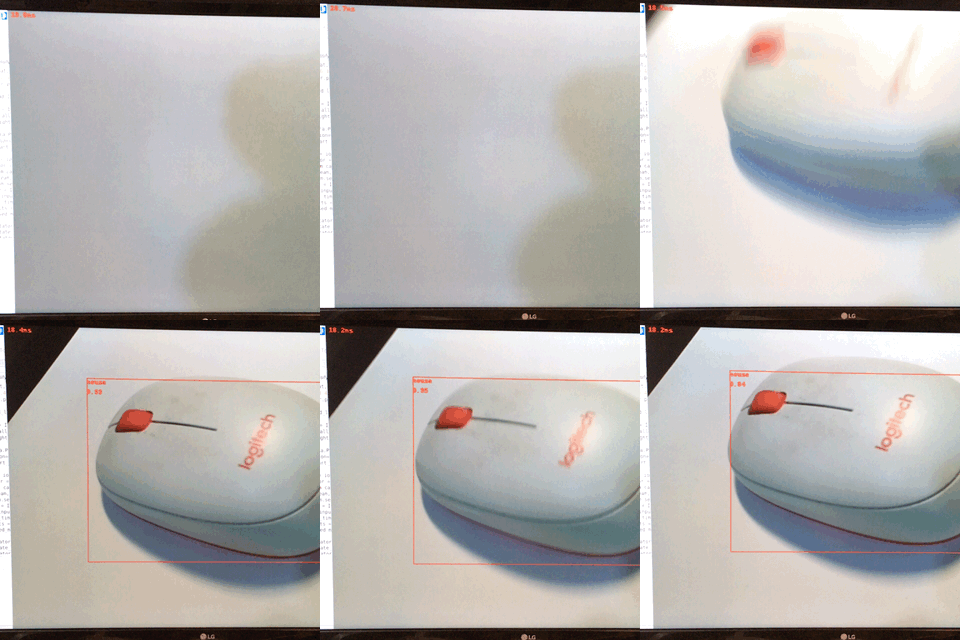
As demonstrated in the previous tutorial, we can run TensorFlow Lite on Raspberry Pi to perform AI inferencing. While TensorFlow Lite has been optimized for embedded platforms like Raspberry Pi, some projects may need much faster inferencing speed. For instance, if we want to make an AI-powered sorter like this one, the Raspberry Pi may not be fast enough for this task.
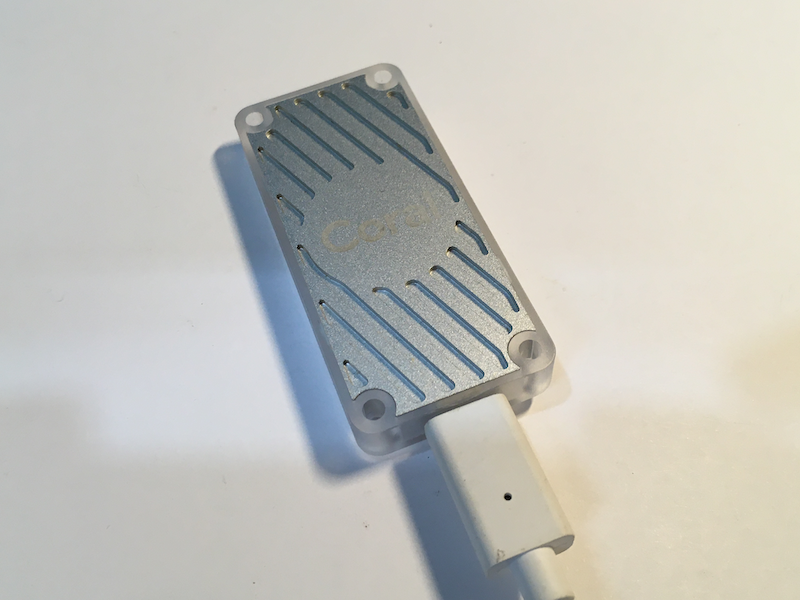
Fortunately, we can increase the inferencing speed significantly by attaching a Tensor Processing Unit (TPU) to the Raspberry Pi. TPUs are processors specifically for doing the math involved in AI inferencing (mainly matrix manipulation) developed by Google. The Coral USB Accelerator is one of those TPUs that Google offers, and it can be used on a Raspberry Pi.
In this tutorial, we will learn how to use the Coral USB Accelerator to speed up image classification with TensorFlow Lite. As a demo, we will run the custom image classification model in this tutorial with the help of the TPU.
Materials and Tools
- Raspberry Pi (the model 4B+ is recommended)
- Camera module for Raspberry Pi
- Coral USB Accelerator
Prerequisites
Before the tutorial, make sure you have:
- understood the basic concept of image recognition with machine learning,
- configured the Raspberry Pi camera properly,
- created and activated a Python virtual environment,
- installed TensorFlow Lite runtime in the virtual environment
- trained a custom image classification model in Teachable Machine
If you have not done so, you should check out this tutorial about TensorFlow Lite and this tutorial about Teachable Machine first.
Install the EdgeTPU Runtime
To use the Coral USB Accelerator, we need to install the EdgeTPU runtime to the Raspberry Pi first. Open the terminal and input the following commands line by line.
(tfl)pi@raspberrypi:~ $ echo "deb https://packages.cloud.google.com/apt coral-edgetpu-stable main" | sudo tee /etc/apt/sources.list.d/coral-edgetpu.list
(tfl)pi@raspberrypi:~ $ curl https://packages.cloud.google.com/apt/doc/apt-key.gpg | sudo apt-key add -
(tfl)pi@raspberrypi:~ $ sudo apt-get update
These three commands add the Debian package repository of Google to the Raspberry Pi OS.
Then, we can install the EdgeTPU runtime by the following command.
(tfl)pi@raspberrypi:~ $ sudo apt-get install libedgetpu1-std
After the installation, you can connect the Coral USB Accelerator to the Raspberry Pi.
NOTE: Connect the USB Accelerator to the Raspberry Pi via the USB 3 port if you use Raspberry Pi 4. The speed will be significantly lower if USB 2 is used.
Export the Right Model from Teachable Machine
In the previous tutorial, we trained a custom image classification model. When exporting the trained model, there are actually three options:
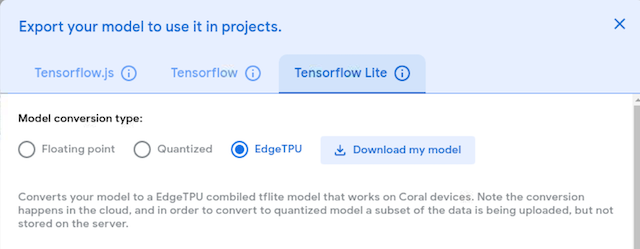
If we use TensorFlow Lite only, we can choose ‘floating point’ or ‘quantized’ (‘quantized’ models have lower precision so the inferencing is faster). However, to use the Coral USB Accelerator, we must choose ‘EdgeTPU’ to further optimize the model. Select EdgeTPU and click Download my model to download the model.
A zip file will be downloaded. Unzip it and move the extracted files to the ~/ai directory. The .tflite file is the TensorFlow Lite model file optimized for the EdgeTPU, and the .txt file is a text file containing the names of the classes.
Modify the Image Classification Example
Enter the ~/ai directory. Once again, we need the TensorFlow examples from the Github repository. If you have not downloaded that, clone it using git:
(tfl)pi@raspberrypi:~/ai $ git clone https://github.com/tensorflow/examples.git
Then, navigate the folder containing the image classification Python script:
(tfl)pi@raspberrypi:~/ai $ cd examples/lite/examples/image_classification/raspberry_pi
Next, make sure that all the requirements are satisfied:
(tfl)pi@raspberrypi:~/ai $ pip install -r requirements.txt
At this point, everything is the same as using TensorFlow Lite without the EdgeTPU. To use the EdgeTPU, we need to modify classify_picamera.py a bit. Open the code with the editor you like, say, Thonny.
(tfl)pi@raspberrypi:~/ai $ thonny classify_picamera.py &
First, we need to import the load_delegate function from tflite_runtime.interpreter. Add the following line after from tflite_runtime.interpreter import Interpreter.
from tflite_runtime.interpreter import load_delegate
Then, we need to assign the EdgeTPU as the delegate for the interpreter. In the main function, look for the following line:
interpreter = Interpreter(args.model)
The EdgeTPU is assigned by adding an argument experimental_delegates:
    # interpreter = Interpreter(args.model)
    interpreter = Interpreter(args.model, experimental_delegates=[load_delegate('libedgetpu.so.1')])
That’s it! We can run the program as before. In the terminal, type the following to run the program:
(tfl)pi@raspberrypi:~/ai $ python classify_picamera.py \
  --model ~/ai/model_edgetpu.tflite \
  --labels ~/ai/labels.txt
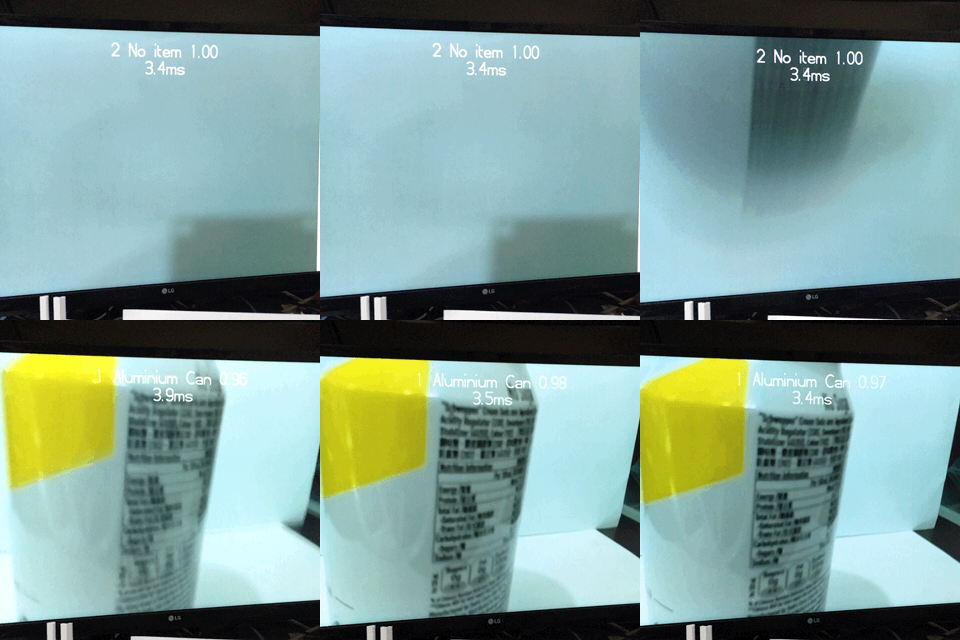
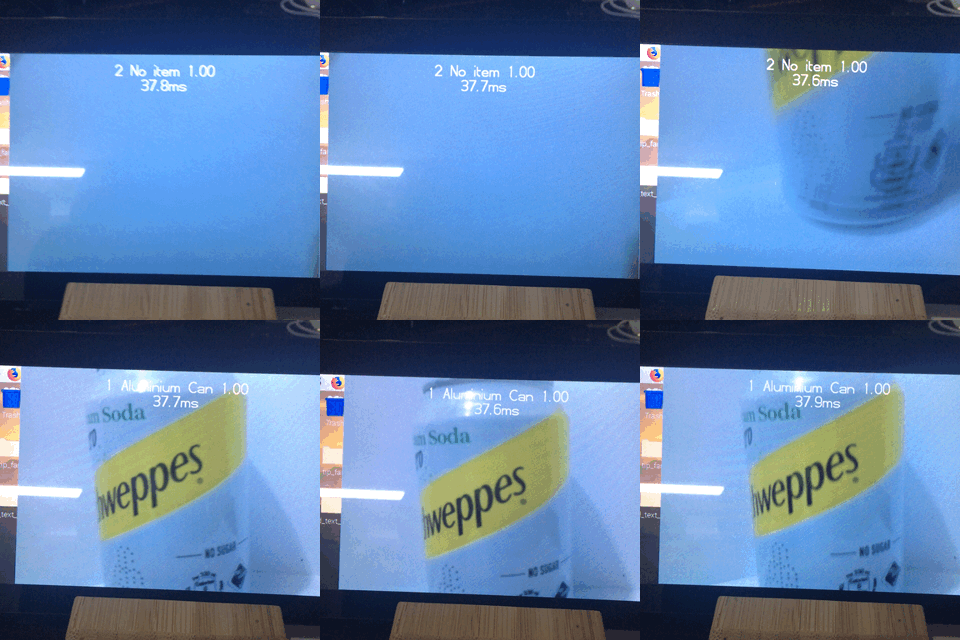
Compare with the previous tutorial, we can see that the EdgeTPU speeds up the inferencing by almost 10 times!
Conclusion and Assignment
By attaching a Coral USB Accelerator, it is possible to turn a Raspberry Pi into a low cost and power-efficient AI device. We can use TensorFlow Lite and the EdgeTPU seamlessly together without a lot of work. In fact, we don’t need to use TensorFlow to utilize the power of the EdgeTPU. Google provides a different Python library specifically for the EdgeTPU.
On the other hand, the Raspberry Pi is not the only platform that we can use for on-edge AI inferencing. Single board computers like Jetson Nano are also extremely powerful and power-efficient. Later, we will explore further on these AI solutions.
To consolidate what we have learnt, try using the USB Accelerator to run the object detection model mentioned in this tutorial:
