Introduction
Artificial intelligence (AI) has been a hot topic for the past few years. There are many applications of AI. For example, your smartphone uses AI to recognize your face in photos, interpret your spoken commands and give suggestions to you when you search for something. AI technologies generally make inferences with abstract models that are generated by analyzing many sample data .
In particular, artificial neural network (ANN) is a form of AI models behind many AI technologies. ANN can handle a wide variety of tasks. Other than the computer vision and speech recognition technologies aforementioned, ANN can also be used for translation, playing board games and perform medical diagnosis. If you want to know more about the mathematics behind ANN, I strongly recommend you to watch this excellent series of videos from 3blue1brown on Youtube.
On the other hand, TensorFlow is a software library for creating AI models. We can create, train and use ANN models with TensorFlow without dealing with the complex mathematics (at least at the beginning). You may understand more about TensorFlow by watching some of their YouTube videos.

However, creating AI models from the scratch may also be complicated. Luckily, there are many pre-trained models that we can use for different purposes. For instance, there are a number of image recognition AI models that can be used right out of the box.
In this tutorial, we will use some pre-trained models to perform object detection with the TensorFlow Lite library on a Raspberry Pi. The TensorFlow Lite library has been optimized for running on mobile devices or even microcontrollers. Specifically, we will:
- setup a Python Virtual Environment for a Python project
- install TensorFlow Lite runtime on Raspberry Pi
- take a look of an object detection program
Materials and Tools
- Raspberry Pi (the model 4B+ is recommended)
- Camera module for Raspberry Pi
Connect and Configure the Raspberry Pi Camera Module
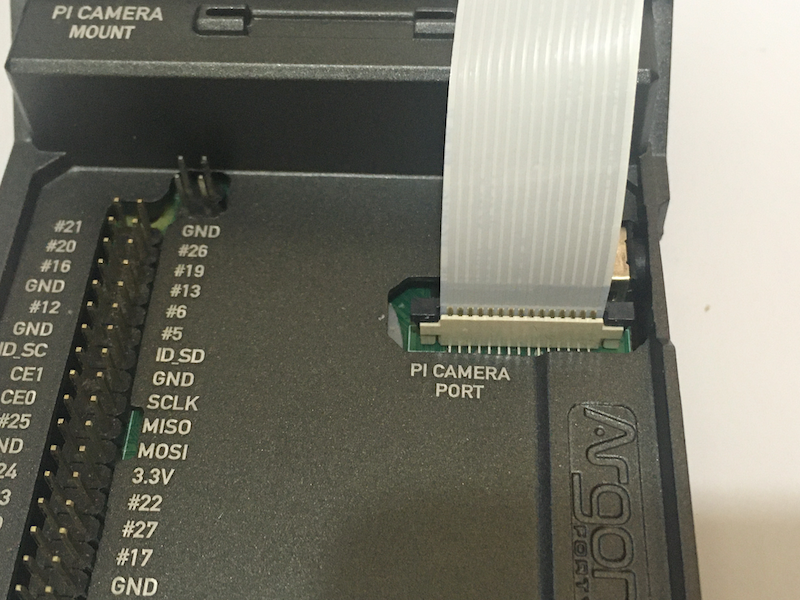
If this is the first time you use the Raspberry Pi camera module, you need to connect the camera module to the Raspberry Pi, as well as enable the camera interface on Raspbian OS. Before powering up the Raspberry Pi, connect the camera module to the Raspberry Pi.
The camera module should come with a CSI cable. Plug the cable to the Raspberry Pi and the camera module as shown below.
The metalic side of the cable should be in contact with the metalic part of the connectors on the Raspberry Pi and the camera modules.
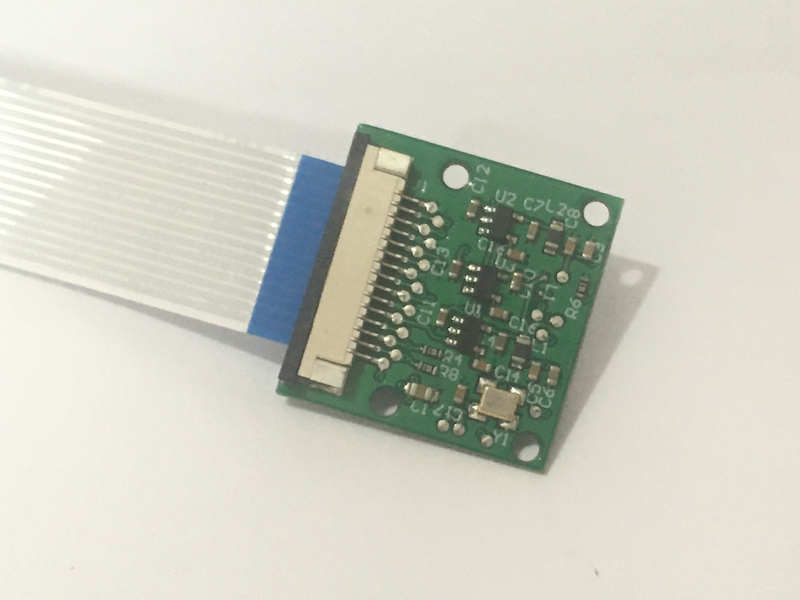
NOTE: If you find that the cable is too short, you may purchase a longer one on the Internet.
After the Raspberry Pi is booted, we need to enable the camera interface. First, we need to launch the raspi-config program in the terminal.
pi@raspberrypi:~$ sudo raspi-config
Then, move down to ‘Interface Options’ and press ENTER.
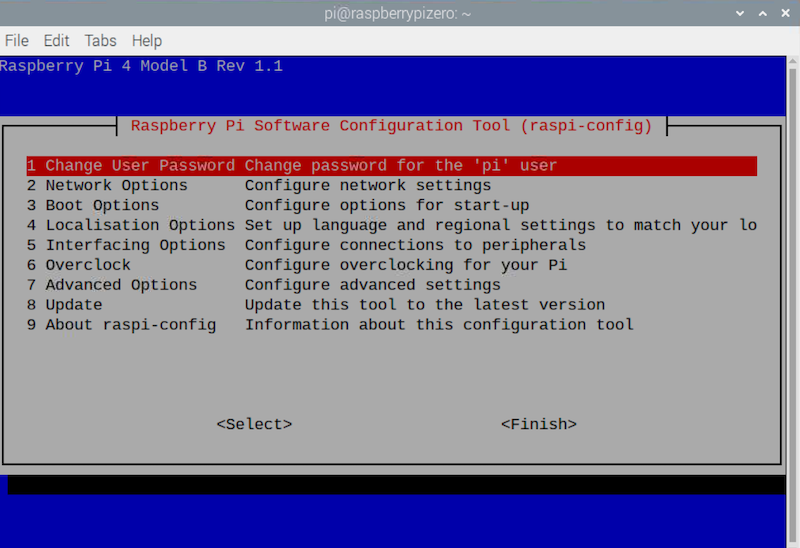
The cursor should be at ‘Camera’. Press ENTER.
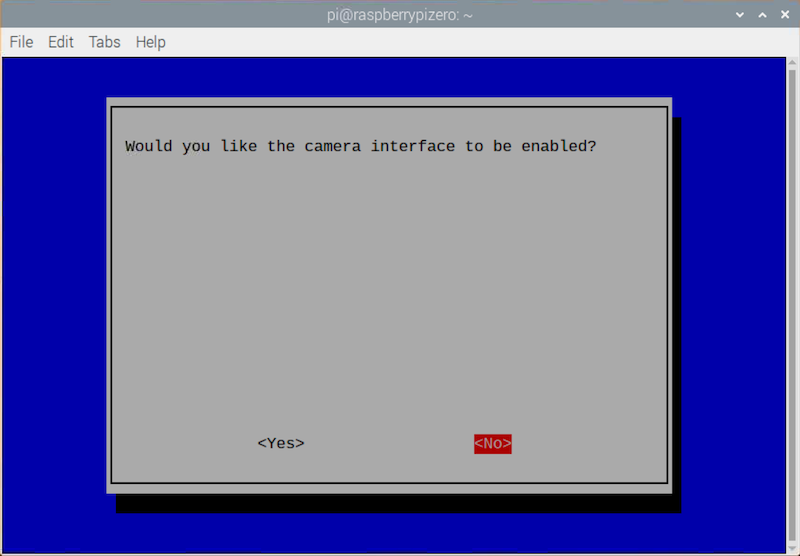
Then, select ‘Yes’.
After going back to the main menu, select ‘Finish’ to close the raspi-config program. You need to reboot your Raspberry Pi.
Setup Python Virtual Environment
We need to install a number of Python libraries to get TensorFlow Lite working. While we can use pip3 to install those Python libraries in the system, this is actually not recommended. Different projects may require different versions of Python libraries, and installing or upgrading those Python libraries may break the existing projects. Fortunately, Python Virtual Environment allows us to create separate spaces for different projects to install Python libraries.
First, we check whether the latest version of python3-venv has been installed. If not, we need to install or update that.
pi@raspberrypi:~$ sudo apt update
pi@raspberrypi:~$ sudo apt install python3-venv
Then, we create a folder ai for our project, and navigate to the folder.
pi@raspberrypi:~$ mkdir -p ~/ai && cd ~/ai
Next, we create a virtual environment named tfl for our project.
pi@raspberrypi:~/ai$ python3 -m venv tfl
After the command is executed, a new folder tfl is created. The folder will contain all the Python libraries that can be used only if you activate this specific virtual environment. Everytime we activate the tfl virtual environment, we need to execute the tfl/bin/activate file with the source command.
NOTE: If you need to use the system packages (e.g. the RPi.GPIO library), you should add the flag
--system-site-packages.
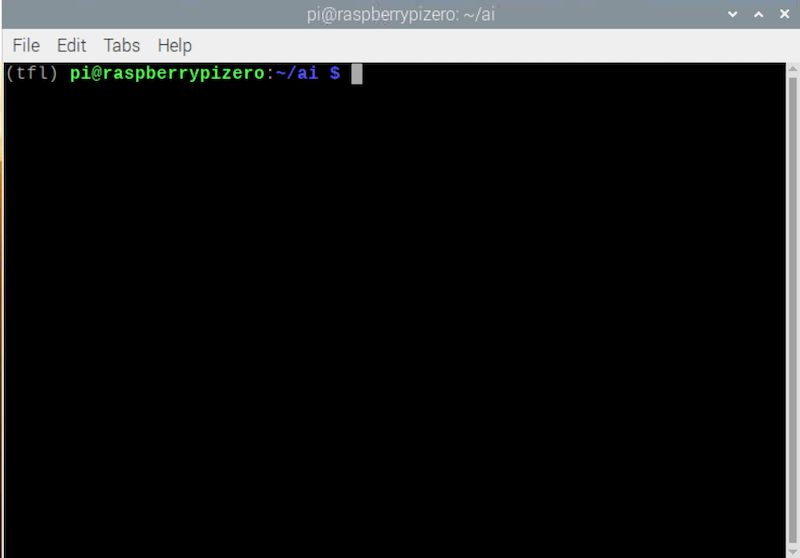
pi@raspberrypi:~/ai$ source tfl/bin/activate
From now, (tfl) will be shown in every line you enter in the terminal.
When we create a new virtual environment, we should always update the pip module inside the virtual environment first.
(tfl) pi@raspberrypi:~/ai$ pip install --upgrade pip
We are now ready to install the TensorFlow Lite runtime.
Install TensorFlow Lite Runtime
First, we need to check the version of Python running on the Raspberry Pi.
(tfl) pi@raspberrypi:~/ai$ python -V
Then, visit this TensorFlow page and find the Linux (ARM 32) Python wheel URL of the TensorFlow for the version of Python you have. At the time of writing, the URL for Python 3.7 is https://dl.google.com/coral/python/tflite_runtime-2.1.0.post1-cp37-cp37m-linux_armv7l.whl, so the TensorFlow Lite runtime can be installed by the following command.
(tfl) pi@raspberrypi:~/ai$ pip install https://dl.google.com/coral/python/tflite_runtime-2.1.0.post1-cp37-cp37m-linux_armv7l.whl
All other libraries that TensorFlow Lite depends on (e.g. numpy) will be installed to the tfl virtual environment automatically.
Download and Run the Example
Let’s download the example from the TensorFlow’s Github repository, as well as some pre-trained models that can be run on the TensorFlow runtime.
(tfl) pi@raspberrypi:~/ai$ git clone https://github.com/tensorflow/examples.git
(tfl) pi@raspberrypi:~/ai$ wget https://dl.google.com/coral/canned_models/all_models.tar.gz
(tfl) pi@raspberrypi:~/ai$ tar -xvf all_models.tar.gz --one-top-level
NOTE: The
download.shscript inside the folder of the TensorFlow Lite example will only download the Mobilenet SSD v1 model, but we actually can run different models with the object detection example. Therefore, we download extra models as suggested by the Google’s Coral repository.
Then, navigate to the folder containing the object detection example.
(tfl) pi@raspberrypi:~/ai$ cd examples/lite/examples/object_detection/raspberry_pi
There are a number of Python libraries that need to be installed. We can install those libraries using the pip command and the requirements.txt file in the raspberry_pi folder.
(tfl) pi@raspberrypi:~/ai/examples/lite/examples/object_detection/raspberry_pi$ pip install -r requirements.txt
After the installation, we can run the object detection Python program.
(tfl) pi@raspberrypi:~/ai/examples/lite/examples/object_detection/raspberry_pi$ python detect_picamera.py \
  --model ~/ai/all_models/mobilenet_ssd_v2_coco_quant_postprocess.tflite \
  --labels ~/ai/all_models/coco_labels.txt
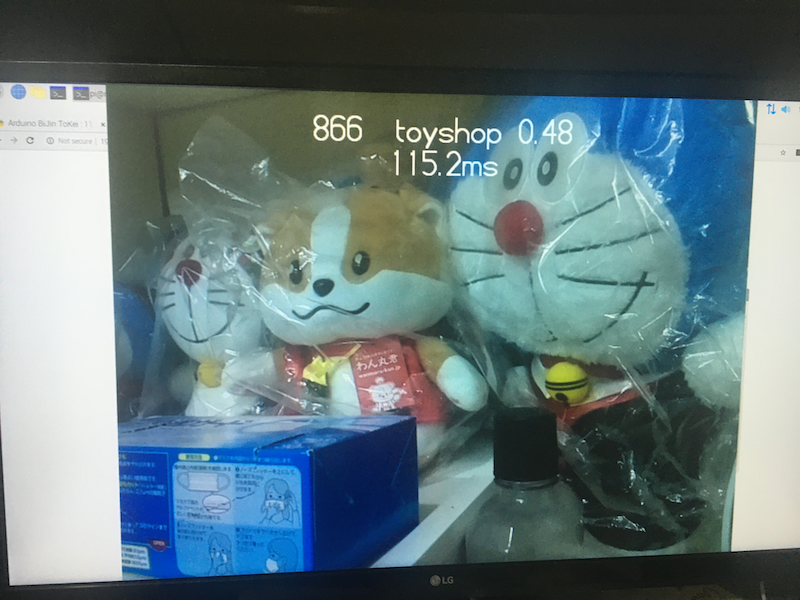
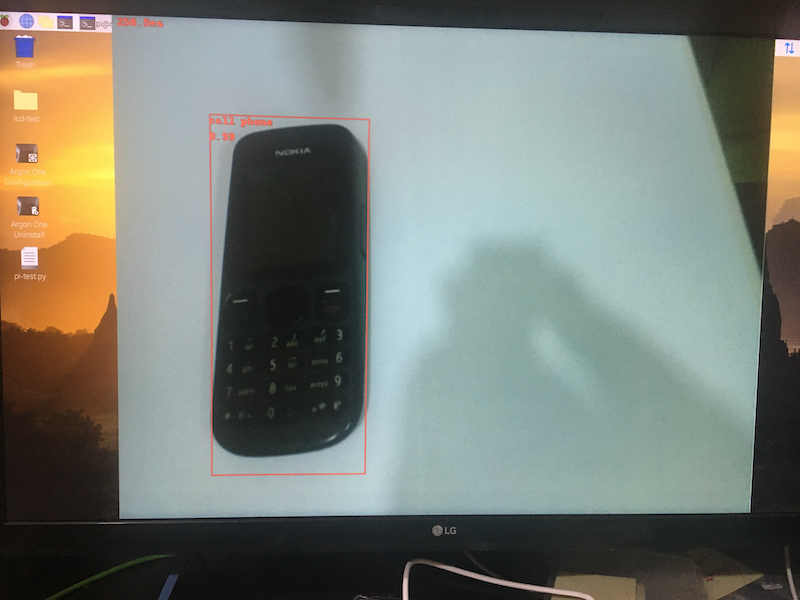
Point the camera to other things and see if the program can perform the detection correctly!
NOTE: If you use VNC, make sure that you enable ‘direct capture mode’ in the VNC Server preference.
NOTE: If you receive an error message saying that the file ‘libf77blas.so.3’ is missing, run
sudo apt install python-dev libatlas-base-devin the terminal to install the missing numpy dependencies.
You can stop the program by pressing ‘Ctrl + C’.
We can also use other models to detect some other things. For example, if we use the Mobilenet face detection model:
(tfl) pi@raspberrypi:~/ai/examples/lite/examples/object_detection/raspberry_pi$ python detect_picamera.py \
  --model ~/ai/all_models/mobilenet_ssd_v2_face_quant_postprocess.tflite \
  --labels ~/ai/all_models/coco_labels.txt
The python command starts the Python interpreter and run the Python script detect_picamera.py. The --model flag specifies the location of the model file, and the --labels flag specifies the location of the file containing the text labels.
Point your camera to your face and the program should be able to detect your face!
Conclusion and Assignment
Neural networks enable us to perform a lot of amazing tasks related to computer vision. While the theories and mathematics behind neural networks and deep learning can be complicated, it’s easy for us to get started with using such technologies in our own projects. For instance, it is also very easy to perform image classiciation with TensorFlow Lite. More importantly, you can train your own TensorFlow Lite image classification models with Google’s simple-to-use Teachable Machine web app. That means you can create your own AI-enabled sorter machine very easily. Moreover, if we add an Tensor Processing Unit (TPU) to the Raspberry Pi like the Coral USB Accelerator, we can have even higher inferencing performance.
As an assignment, you may try running the image classification example. After you have activated the tfl virtual environment, navigate to the ~/ai/examples/lite/examples/image_classification/raspberry_pi folder, and then:
- install the additional Python libraries with the file
requirements.txt - use
pythonto run theclassify_picamera.pyscript with a. the modelmobilenet_v2_1.0_224_quant.tfliteinside the~/ai/all_modelsfolder b. the label text fileimagenet_labels.txtinside the~/ai/all_modelsfolder
The program should show the class of the item in the image!