Introduction
Google Colaboratory (Colab) is an online Python development platform. Basically, it is a Jupyter server running on Google’s cloud with many machine learning libraries pre-installed. Moreover, we can use GPUs to accelerate model training. And most importantly, the basic version of Colab is free so we can experiment with machine learning on this platform.
Note: If you have not used Jupyter notebook before, check out this tutorial to learn more about it.
In this short tutorial, we will use Colab to test the k-means algorithm in the scikit-learn library. The k-means algorithm is a method to partition data into clusters. If you want to know more about this algorithm, you may read p.385 - p.390 of Introduction to Statistical Learning.
Using Colab
Visit https://colab.research.google.com/. Click the Sign in button to sign in with your Google account if you have not done so. The Colab notebook will be stored in your Google Drive automatically.

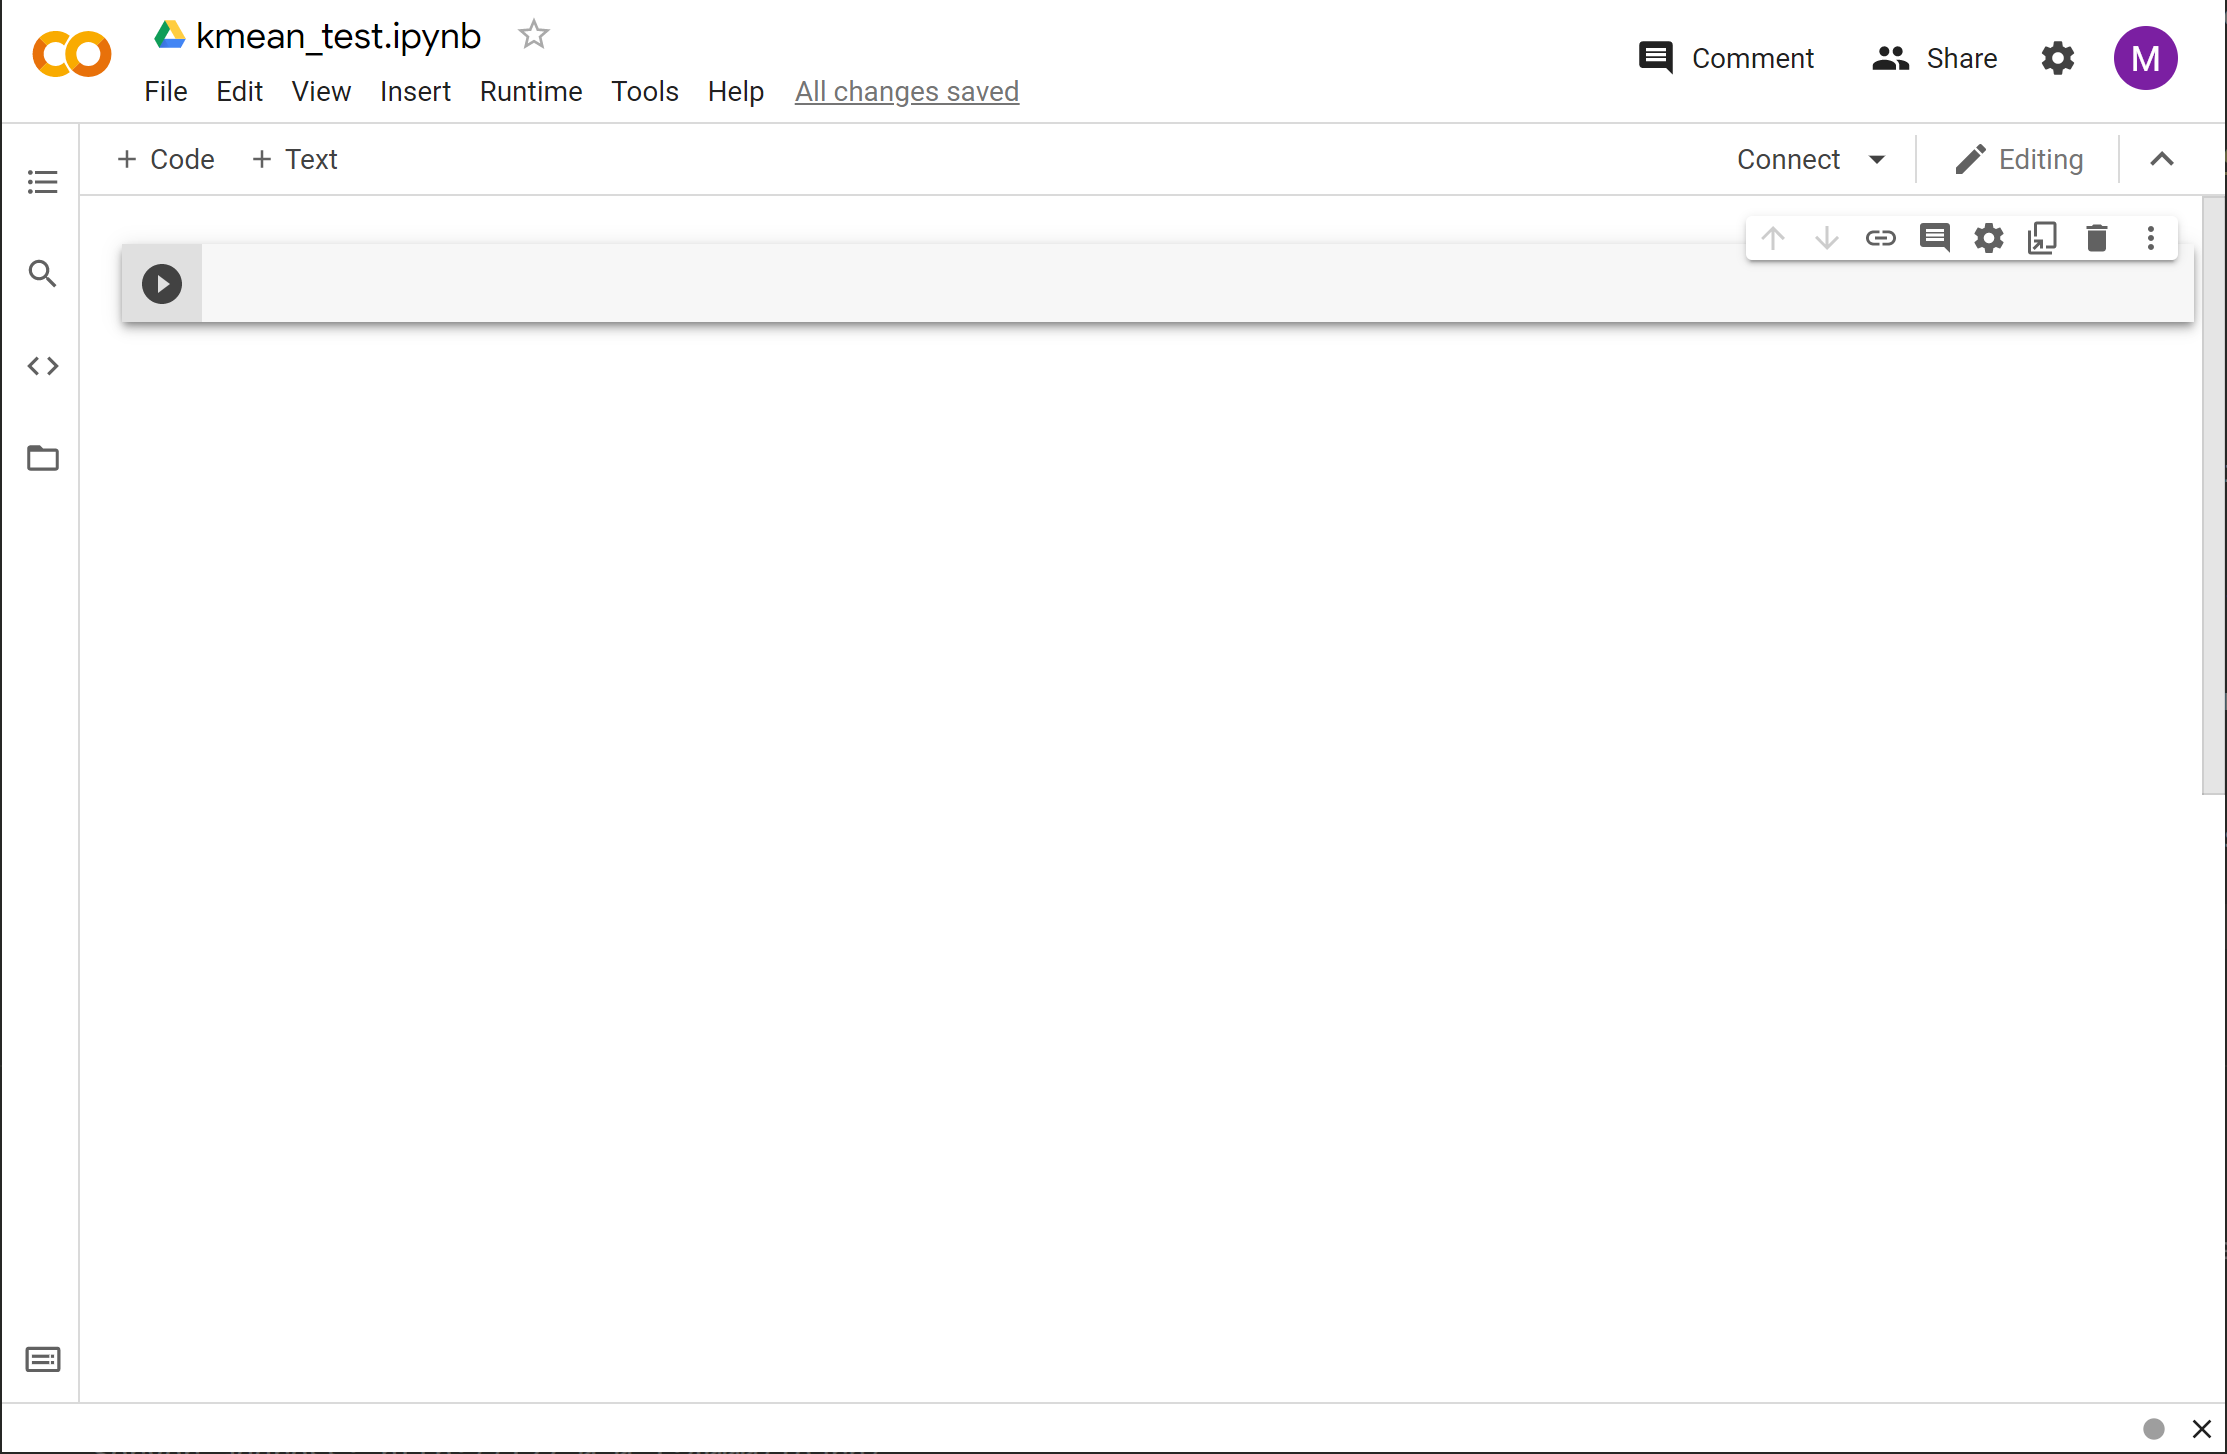
Click File → New notebook in the menu to create a new notebook. The Python kernel of this notebook is not started yet. We can either press the Connect button on the right or execute a cell to start the kernel.
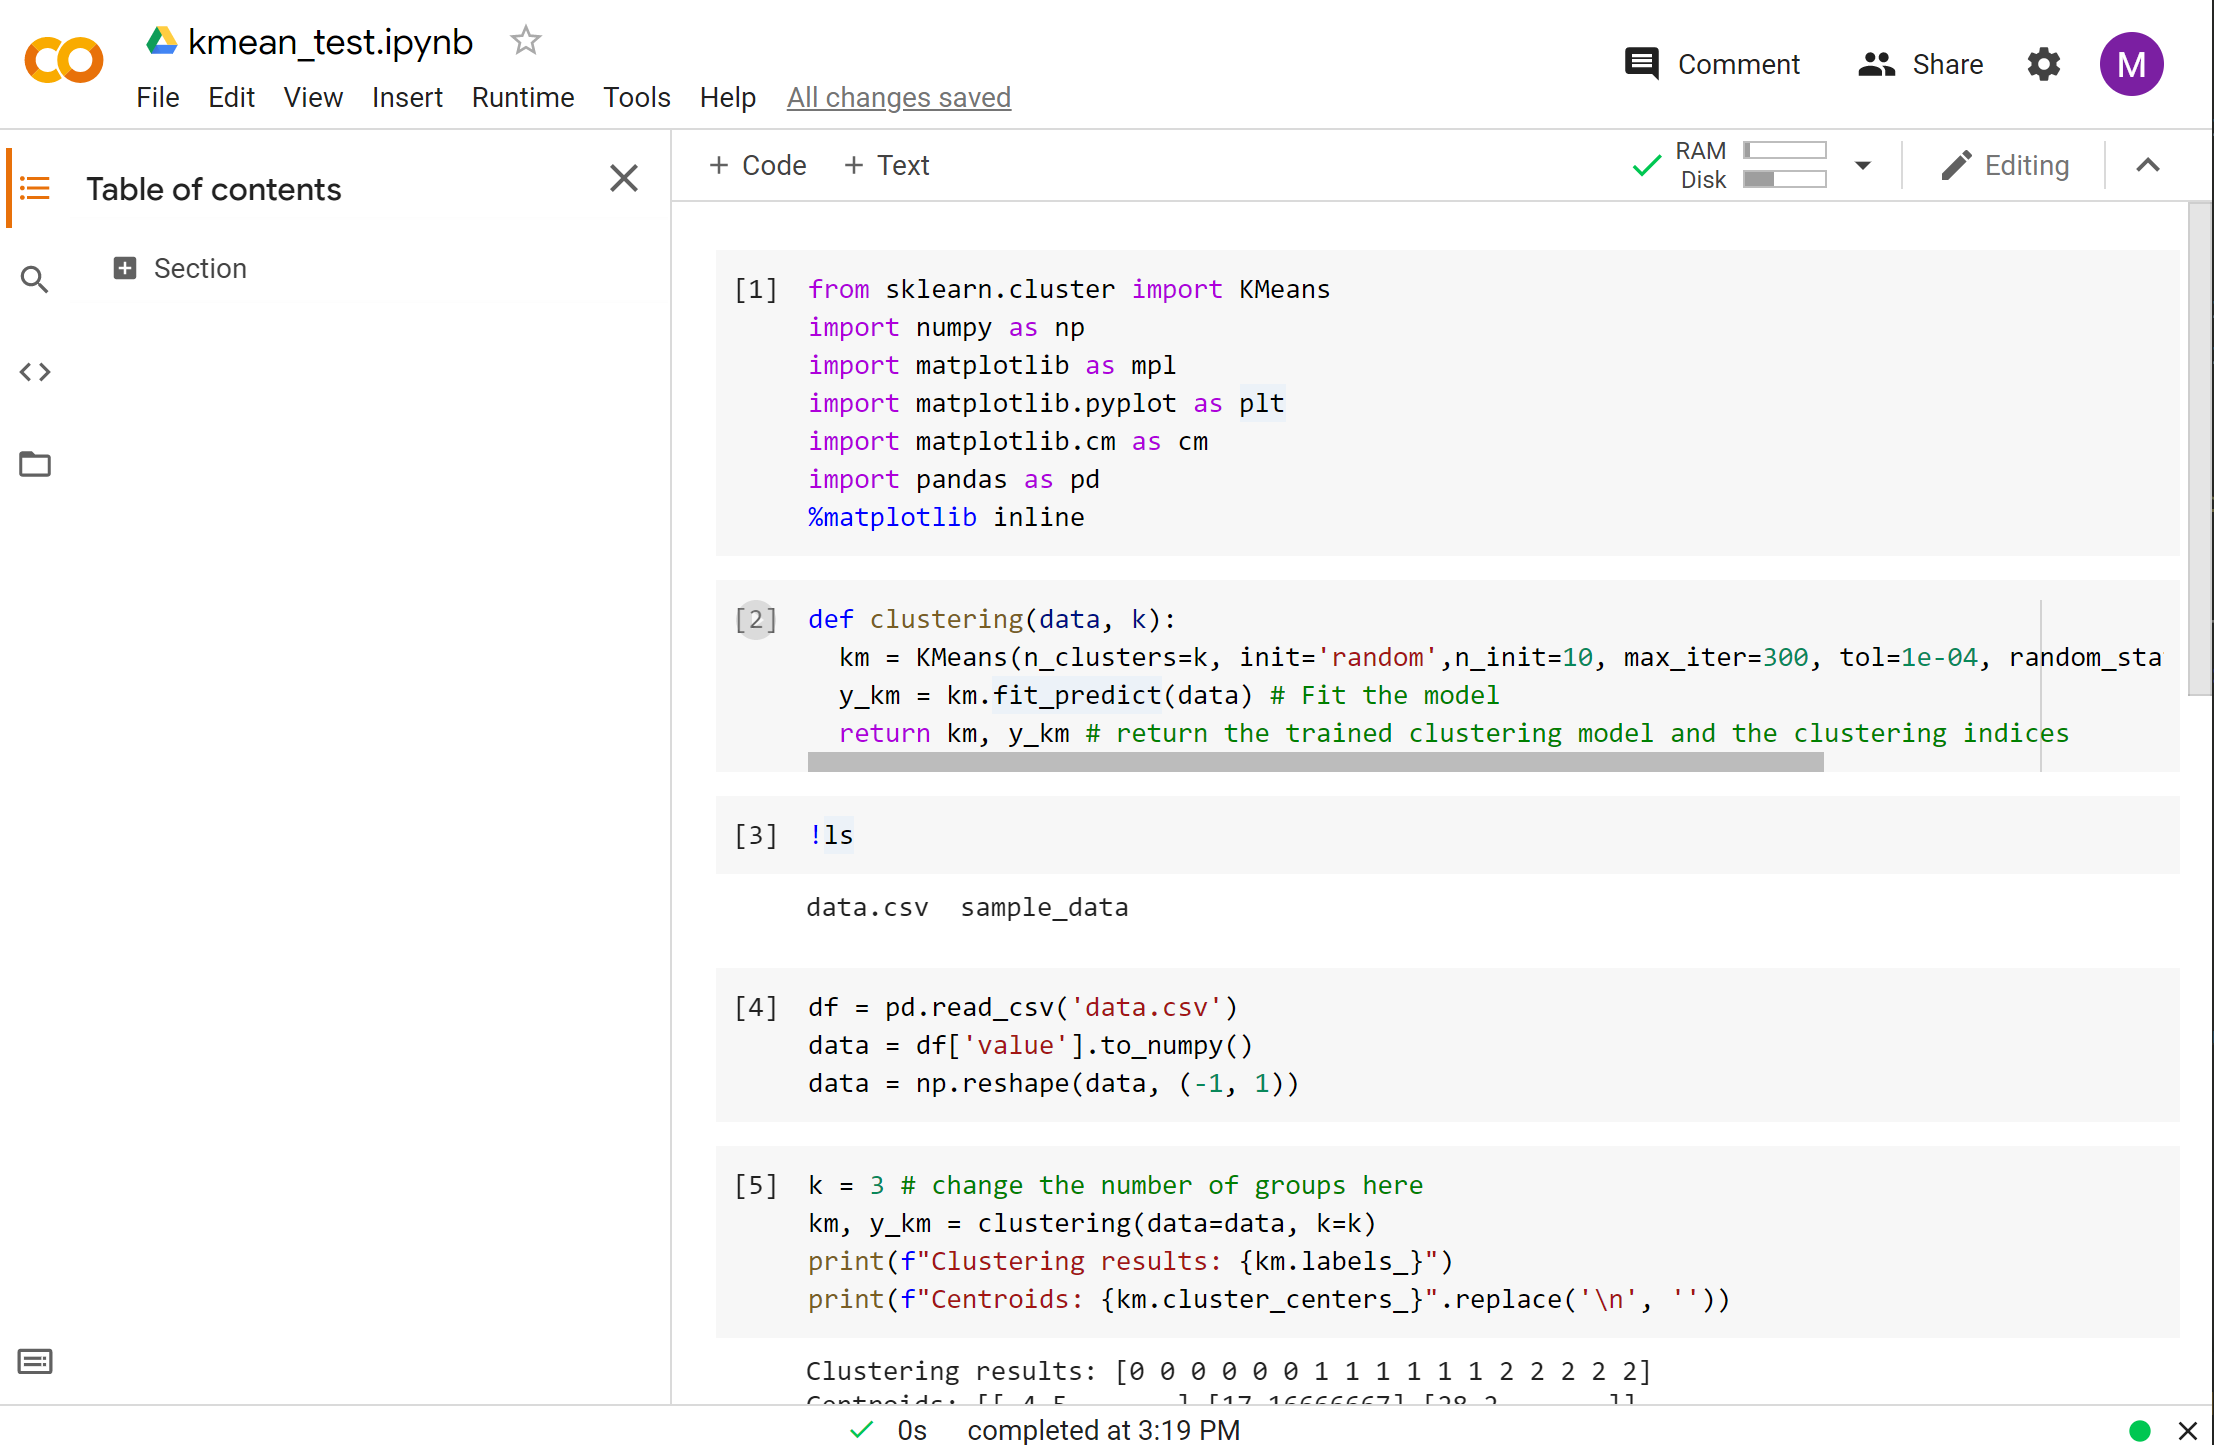
Executing a cell is the same as in Jupyter. Let’s enter the following code in the first cell and execute it by pressing SHIFT + ENTER.
from sklearn.cluster import KMeans
import numpy as np
import matplotlib as mpl
import matplotlib.pyplot as plt
import matplotlib.cm as cm
import pandas as pd
%matplotlib inline
As you can see, the libraries are imported without an issue. Colab has many machine learning related libraries pre-installed, including numpy, scipy, pandas, scikit-learn and TensorFlow.
Note: If you want to install a Python package, you may do so by using the
pipcommand. For example, to installrequests, type!pip install requestsin a cell and execute it. Don’t forget the exclamation mark!at the beginning for Linux commands.
Let’s write the function for using the k-mean algorithm.
def clustering(data, k):
  km = KMeans(n_clusters=k, init='random',n_init=10, max_iter=300, tol=1e-04, random_state=0) # Create a model
  y_km = km.fit_predict(data) # Fit the model
  return km, y_km # return the trained clustering model and the clustering indices
When you click the ‘folder’ button on the left of Colab, you can open the file explorer. We can upload files to this location and use these files in the Colab notebook.
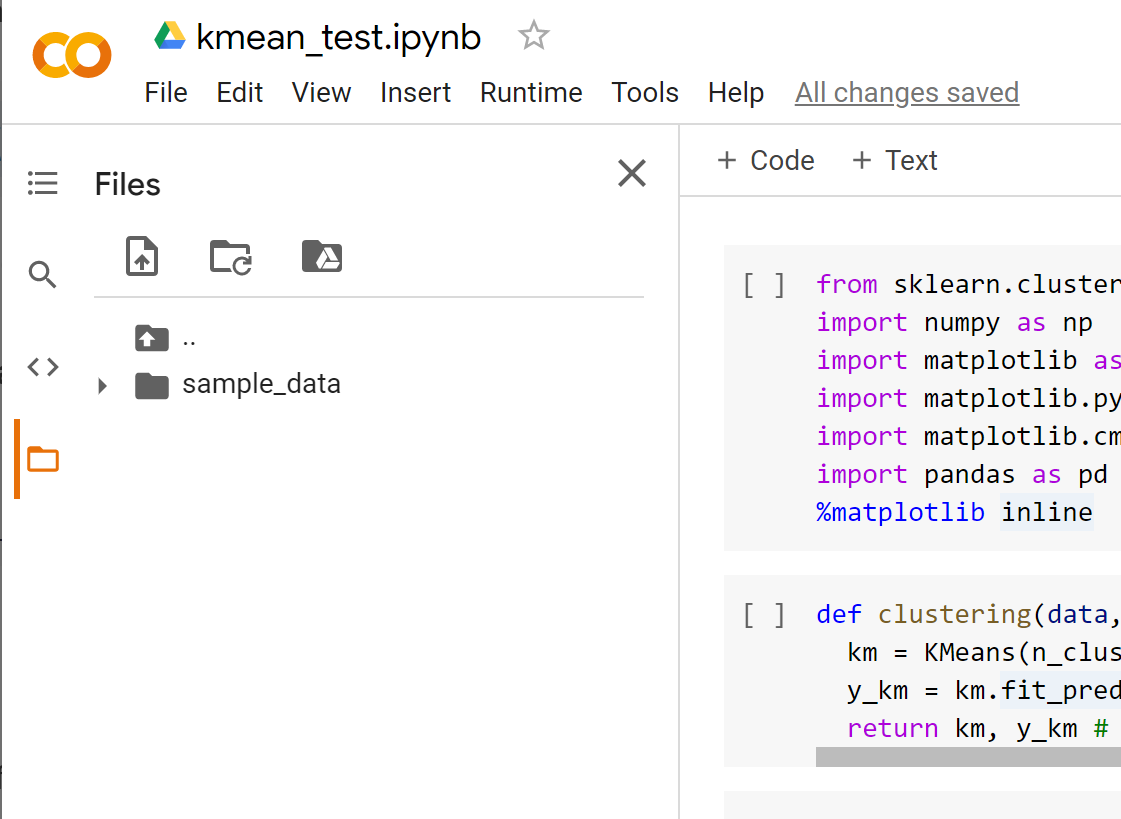
For example, you may download this CSV file, then drag the downloaded file to the file explorer of Colab.
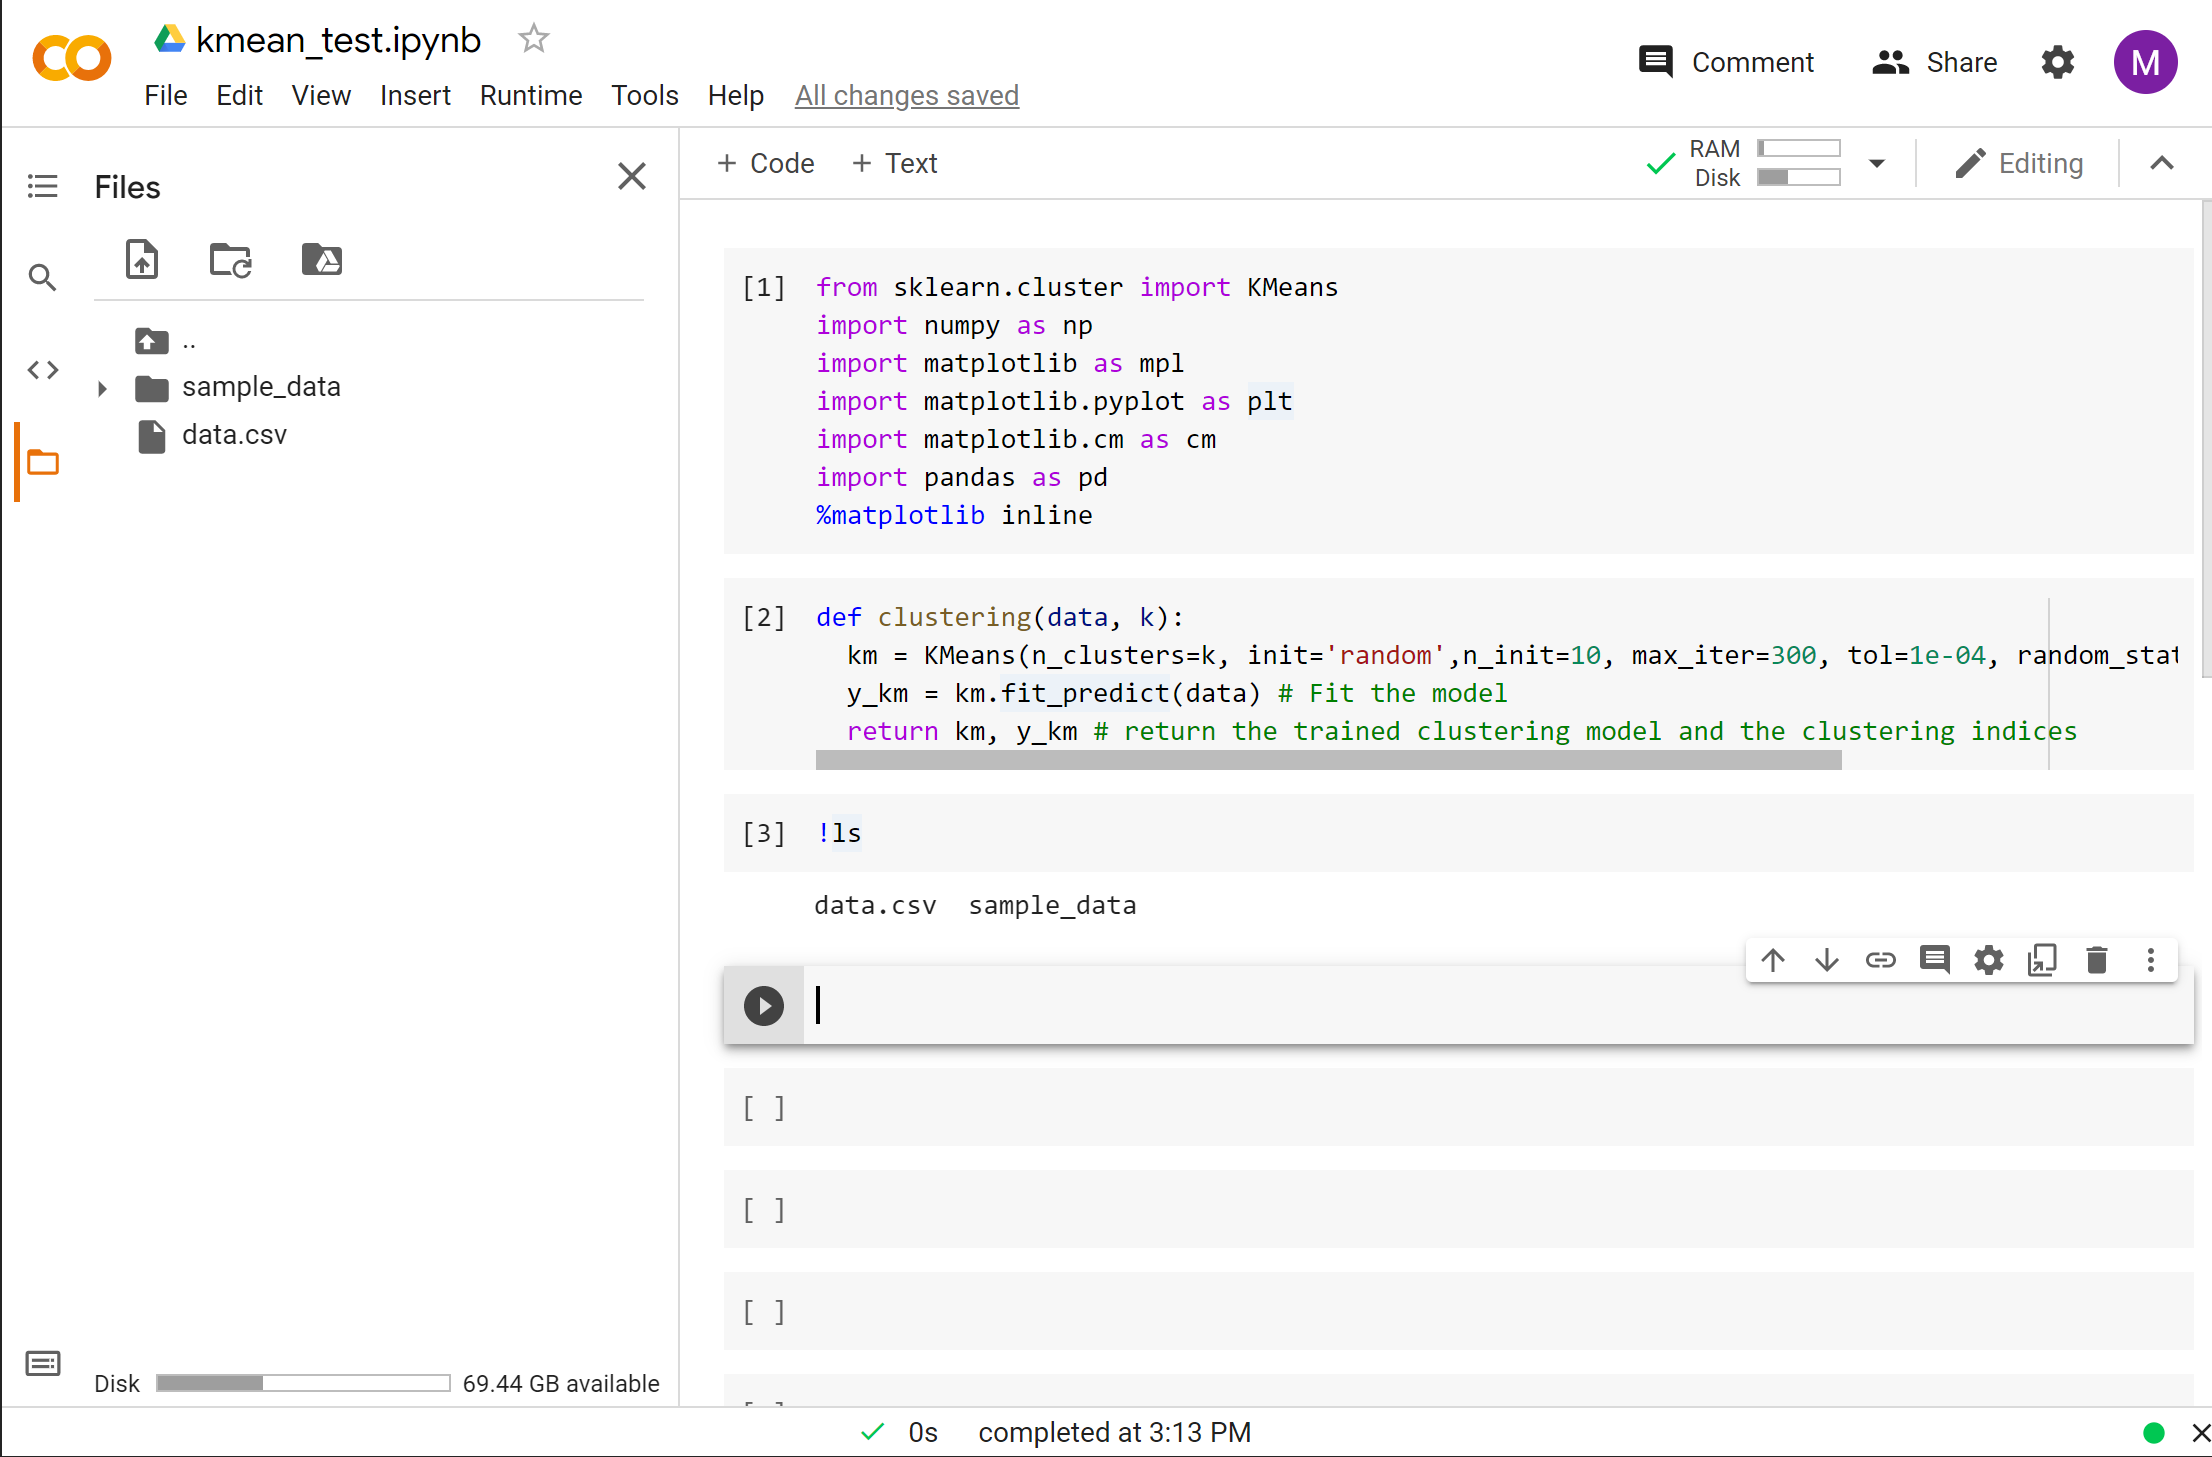
If you execute !ls in a cell, you can see that the file uploaded is listed.
Let’s read the data from the CSV file and pre-process the data a bit for model training.
df = pd.read_csv('data.csv')
data = df['value'].to_numpy()
data = np.reshape(data, (-1, 1))
We can create the model by calling the clustering function.
k = 3 # change the number of groups here
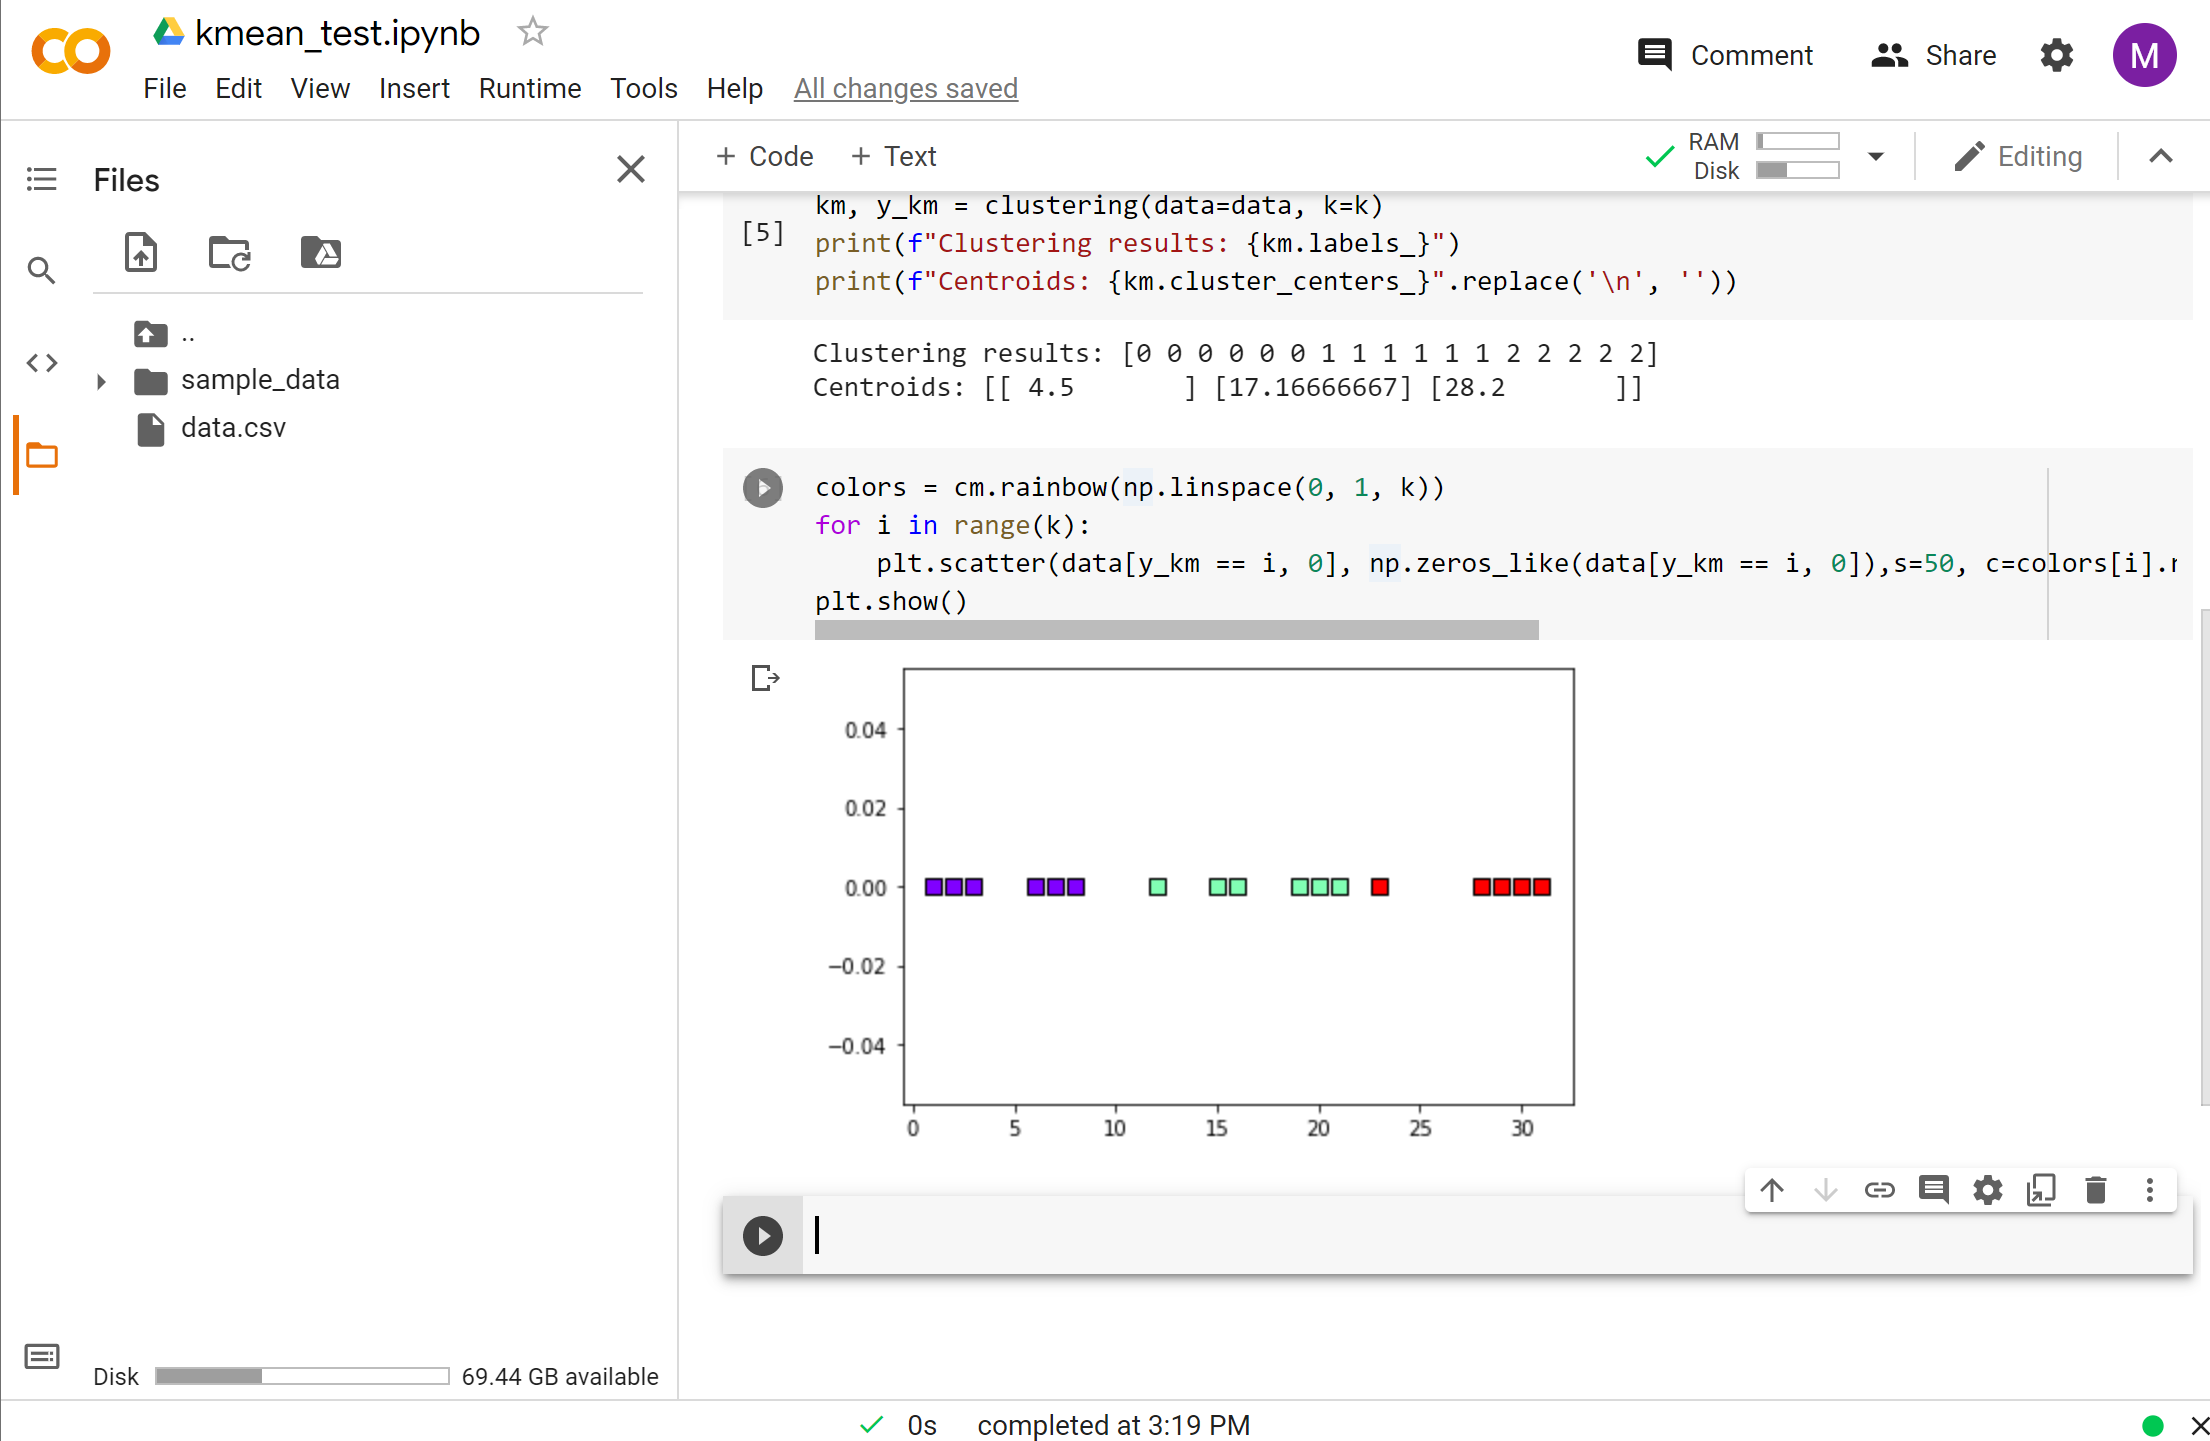
km, y_km = clustering(data=data, k=k)
print(f"Clustering results: {km.labels_}")
print(f"Centroids: {km.cluster_centers_}".replace('\n', ''))
We can also visualize the result in a graph.
colors = cm.rainbow(np.linspace(0, 1, k))
for i in range(k):
    plt.scatter(data[y_km == i, 0], np.zeros_like(data[y_km == i, 0]),s=50, c=colors[i].reshape((1, -1)),marker='s', edgecolor='black',label=f'cluster {i+1}')
plt.show()
You may download the notebook in this repository.
Conclusion
Google Colab is a great tool for everyone to try out machine learning. Novices can work on their machine learning projects without any setup, and experts can utilize its powerful features to experiment with machine learning ideas. In future tutorials, we will explore how to use Colab to train deep learning models with its GPU.