Introduction
NeoPixels, also known as WS2812, are RGB LEDs that can show beautiful colors. An RGB LED actually has 3 smaller LEDs inside, and these smaller LEDs produce red, green and blue light respectively. Moreover, NeoPixels are also addressable. That means if we chain multiple NeoPixels together, we are able to control individual NeoPixels by using their own addresses. The number of NeoPixels that we can use is only limited by the amount of RAM available in a microcontroller and the amount of power available to the NeoPixels.
NOTE: NeoPixels actually draw quite a lot of power! If you need to use more than a few NeoPixels, you should use an external power rather than the power pin of the microcontroller.
Also, NeoPixels come with differnt packages like rings, strips and sewable pads. Thus, NeoPixels are suitable for a wide variety of projects.
MicroPython has a built-in library for controlling NeoPixels. Together with the Wifi-capable ESP32, we can control NeoPixels over the Internet. In the previous tutorial, we have used Adafruit IO’s REST APIs to collect sensor data. In this tutorial, we will do the opposite: get data from the cloud. Specifically, we will learn:
- how to use MicroPython to control NeoPixels,
- how to get data from Adafruit IO via its REST APIs,
- how to use the data from Adafruit IO to control NeoPixels
In the end, we will input the RGB values on the Adafruit IO page, and the ESP32 will read these values and change the colors of the NeoPixels accordingly.
Materials and Tools
- ESP32 x 1
- NeoPixel Ring with 12 NeoPixels x 1
- Jumper wires
Prerequisites
We assume that you have installed the Thonny IDE to your computer, and flashed the MicroPython firmware to the ESP32. If you have not done that, you should follow this tutorial to do so. Also, we assume that you have an account of Adafruit and know the basics of Adafruit IO. If not, you should read this tutorial and register a free account and do the practice first.
Control NeoPixels
Since NeoPixels are addressable, we only need one digital pin to control the entire chain of NeoPixels. Hence, the connection between the NeoPixel ring and the ESP32 is straightforward.
| NeoPixels | ESP32 |
|---|---|
| VCC/5V | USB/VIn |
| GND | GND |
| DI | Pin 15 |
NOTE: Most WS2812 LEDs use 5V but ESP32 uses 3.3V. Usually it’s not an issue, but if your NeoPixels behave weirdly with ESP32, you may need to use a logic-level converter to change the signal from 3.3V to 5V.
For testing purpose, let’s write a simple program to blink the NeoPixels. First, we need to import the libraries that we need to use.
from machine import Pin
from neopixel import NeoPixel
from time import sleep
Then, we create an NeoPixel object np.
np = NeoPixel(Pin(15), 12)
The first parameter is the digital pin connected to the NeoPixel ring, and the second parameter is the number of NeoPixels.
To control the color of the NeoPixels, we need three values: red (R), green (G) and blue (B). Each of these values is from 0 to 255. By varying the amount of red, green and blue light, we can control the color of the NeoPixels. For instance, in the following code,
np[0] = (255, 0, 0)
np.write()
np acts like an array, and each individual NeoPixel is an element of this array. The first NeoPixel has address (or index) 0, the second has address 1, and so on. By assigning the tuple (255, 0, 0) (red: 255, green: 0, blue: 0) to np[0] and calling the write method of np, we can set the first NeoPixel to red. You may check the corresponding color of a particular set of RGB value on this page from W3Schools.
NOTE: Some WS2812 LEDs may use GRB (Green-Red-Blue) instead of RGB. In that case, you need to change the values in the tuple accordingly.
To set all NeoPixels to red, we can use a for loop.
for i in range(12):
    np[i] = (255, 0, 0)
    np.write()
Similarly, to turn off all NeoPixels, we can do it in the following ways:
for i in range(12):
    np[i] = (0, 0, 0)
    np.write()
We can put these two for loops into a while loop to make the NeoPixels blink.
while True:
    for i in range(12):
        np[i] = (255, 0, 0)
        np.write()
    sleep(1)
    for i in range(12):
        np[i] = (0, 0, 0)
        np.write()
    sleep(1)
Finally, we want to make sure that the NeoPixels are turned off when we terminate the program. We can do it by wrapping the while loop with a try ... except block.
try:
    while True:
        for i in range(12):
            np[i] = (255, 0, 0)
            np.write()
        sleep(1)
        for i in range(12):
            np[i] = (0, 0, 0)
            np.write()
        sleep(1)
except KeyboardInterrupt:
    for i in range(12):
        np[i] = (0, 0, 0)
        np.write()
NOTE: The
try ... exceptblock is for handling exceptions in Python. This mechanism allows program to handle runtime errors properly.
In Thonny, click the green ‘Run current script’ button to run the script. The NeoPixels will blink!
Try changing the colors of the NeoPixels as you like!. You may find the sample code here, and ask us on our Facebook page if you have any problems.
Create Feeds and a Dashbaord
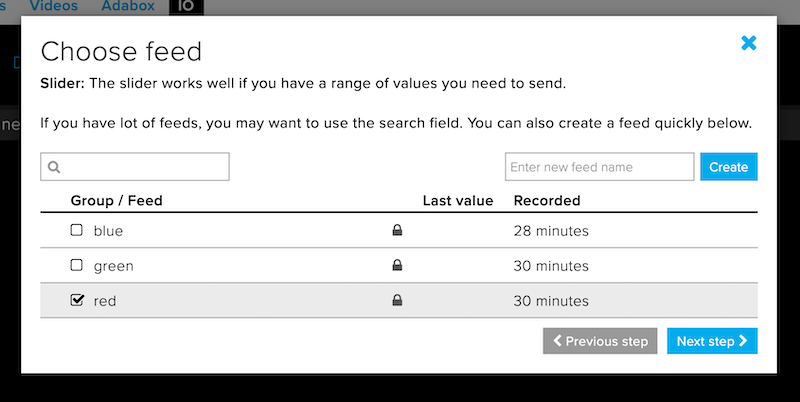
Next, we create three feeds ‘red’, ‘blue’ and ‘green’ for the NeoPixels’ colors in Adafruit IO.

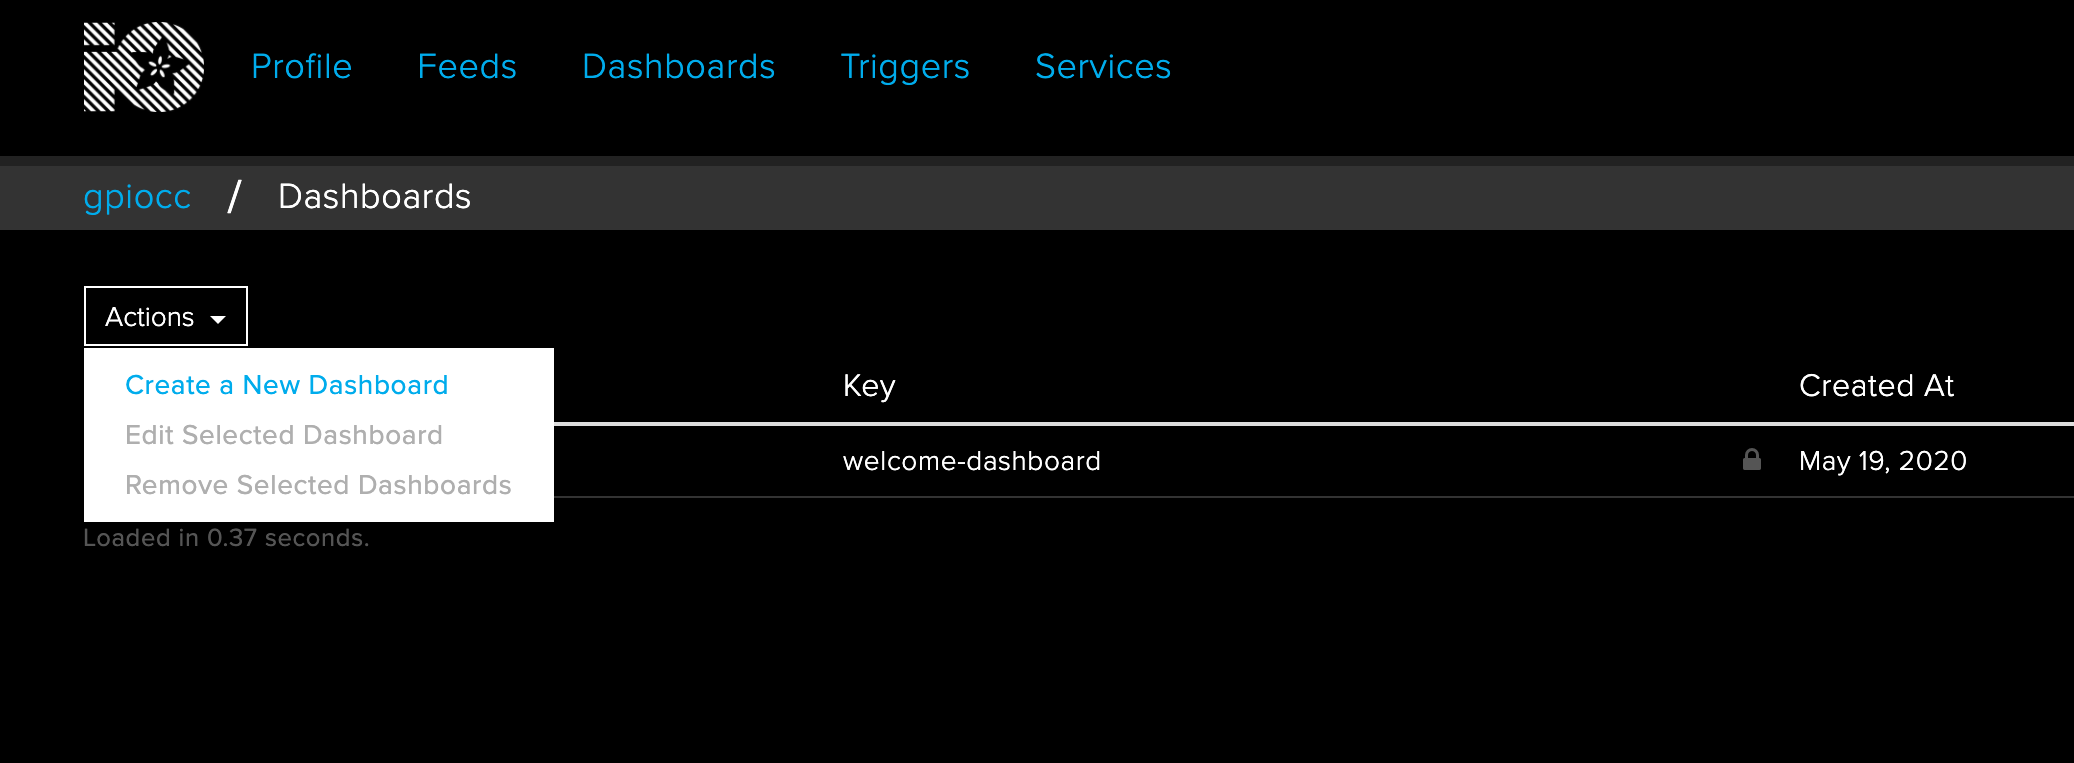
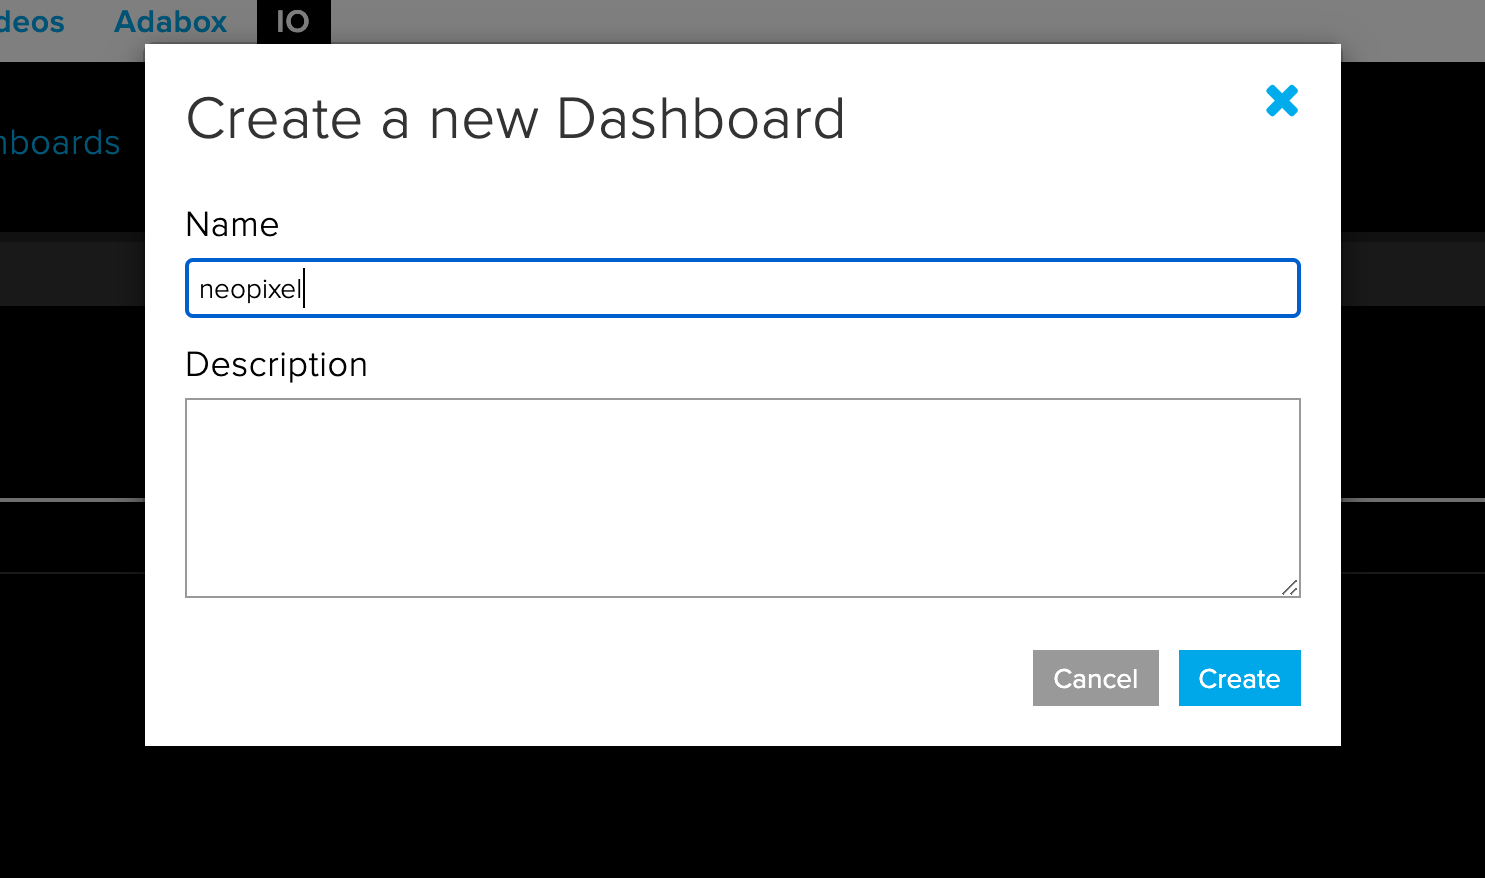
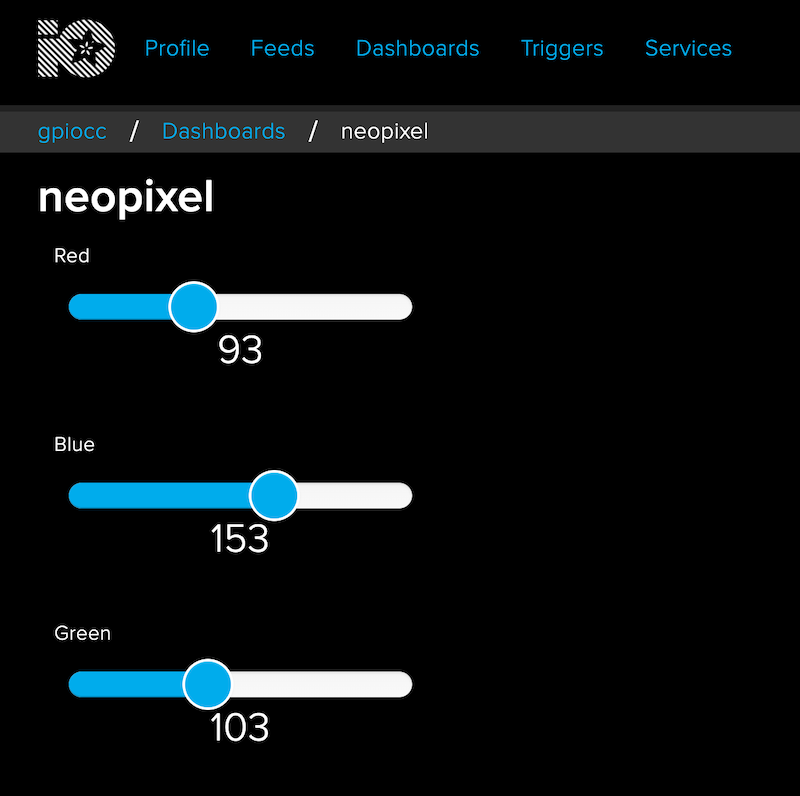
Then, we create a dashboard called ‘neopixel’ on the Dashboard page.
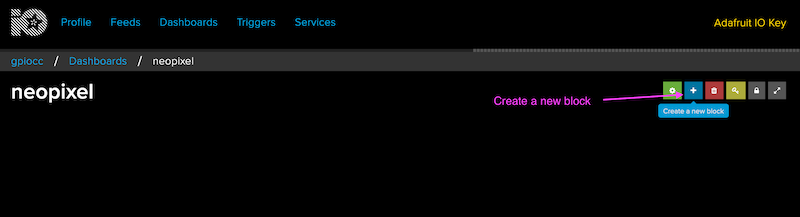
Once the dashboard ‘neopixel’ is created, we enter the dashboard’s page. Initially, it has nothing. Click “Create a new block”.
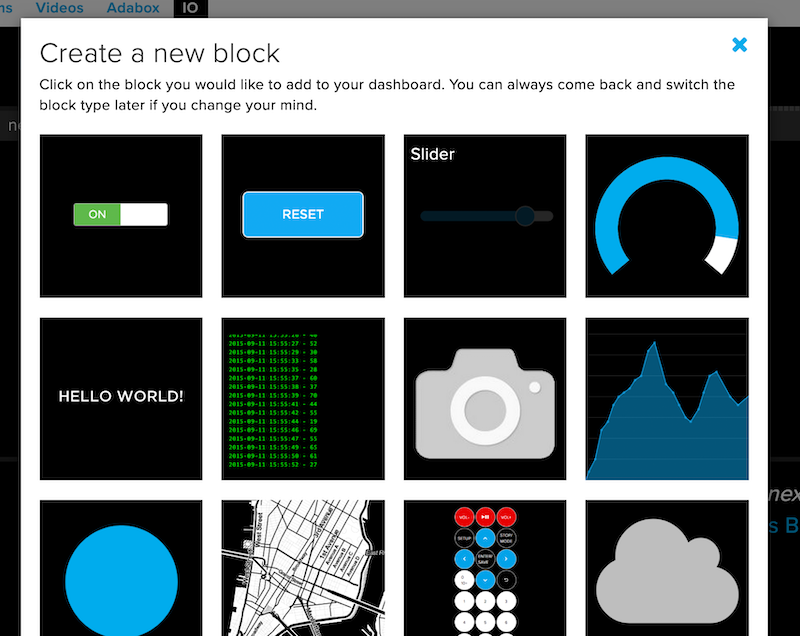
There are a variety of blocks. For our purpose, we choose ‘Slider’.
Next, we link the slider to a feed so that we can manipulate the value of the feed with the slider. For example, we can link the slider to the ‘red’ feed. Select ‘red’ and click ‘Next step’.
Finally, we adjust the settings for the block. Each of the RGB values is an integer from 0 to 255. We configure the slider accordingly. When finished, click ‘Create block’.

Similarly, create two other sliders for the feeds ‘green’ and ‘blue’. Manipulate the data with the sliders. The values of the three feeds will be updated accordingly.
Get, Parse and Use the Data
Similar to sending data to Adafruit IO, we will use the REST APIs of Adafruit to get the values of the feeds ‘red’, ‘green’ and ‘blue’. First, import the necessary libraries, define some variables and connect the ESP32 to a Wifi station.
from machine import Pin
from neopixel import NeoPixel
from time import sleep
import network
import urequests as requests
import ujson

# Wifi credentials
wifi_ssid = "YOUR_WIFI_SSID"
wifi_password = "YOUR_WIFI_PASSWORD"

# Adafruit IO authentication
aio_key = "YOUR_ADAFRUIT_IO_KEY"
username = "YOUR_ADAFRUIT_USERNAME"
headers = {'X-AIO-Key': aio_key, 'Content-Type': 'application/json'}

# Don't forget the NeoPixels!
np = NeoPixel(Pin(15), 12)
feed_names = ['red', 'green', 'blue']
rgb_values = {'red': 0, 'green': 0, 'blue': 0}

# Connect to Wifi
sta_if = network.WLAN(network.STA_IF)
sta_if.active(True)
sta_if.connect(wifi_ssid, wifi_password)
while not sta_if.isconnected():
    print(".", end = "")
The array feed_names contains the names of the feeds that we have created in Adafruit IO, and the dictionary rgb_values is used for storing the values downloaded from Adafruit IO.
Since we need to get the values of three feeds, and each feed has its own URL, we create a function for making the required URL.
def create_URL(feedname):
    url = "https://io.adafruit.com/api/v2/" + username +  "/feeds/" + feedname + "/data/last"
    return url
Finally, we construct the main loop of the program as usual.
try:
    while True:
        for color in feed_names:
            response = requests.get(create_URL(color), headers=headers)
            parsed = ujson.loads(response.text)
            value = int(parsed['value'])
            rgb_values[color] = value
        for i in range(12):
            np[i] = (rgb_values['red'], rgb_values['green'], rgb_values['blue'])
            np.write()
except KeyboardInterrupt:
    for i in range(12):
        np[i] = (0, 0, 0)
        np.write()
In the main loop, for each of the feeds ‘red’, ‘green’ and ‘blue’, we send an HTTP GET request to Adafruit IO with the URL made by the create_URL function and the headers dictionary.
response = requests.get(create_URL(color), headers=headers)
Then, we use the loads function in the ujson library to convert the JSON text received from Adafruit IO into a Python dictionary. This conversion is known as parsing.
parsed = ujson.loads(response.text)
From the Python dictionary parsed, we get the latest value of the feed (which is a string) and convert it into an integer.
value = int(parsed['value'])
After saving all the RGB values to the dictionary rgb_values, we can set the color of the NeoPixels accordingly.
Run the script in Thonny, and manipulate the sliders in Adafruit IO. You will see that the color of the NeoPixels change according to the input to the sliders!
You may find the sample code here, and ask us on our Facebook page if you have any problems.
Conclusion and Assignment
It is very easy to use REST APIs with ESP32 and MicroPython to get data from the Internet. While we use Adafruit IO to do our practices, there are a wide variety of free REST APIs that we can use, and these APIs can be used in the same way as in this tutorial. That means you can create many different IoT devices by yourself!
On the other hand, if we send sensor data to Adafruit IO with one ESP32, and use another ESP32 to retrieve the data at another location, we can build a far more extensive network of IoTs. This kind of extensive IoT systems can also have many applications.
To consolidate the knowledge, try creating a feed named ‘on’ in Adafruit IO, and use a toggle switch on the Dashboard page to turn the NeoPixels on and off. You may find the sample code here, and ask us on our Facebook page if you have any problems.