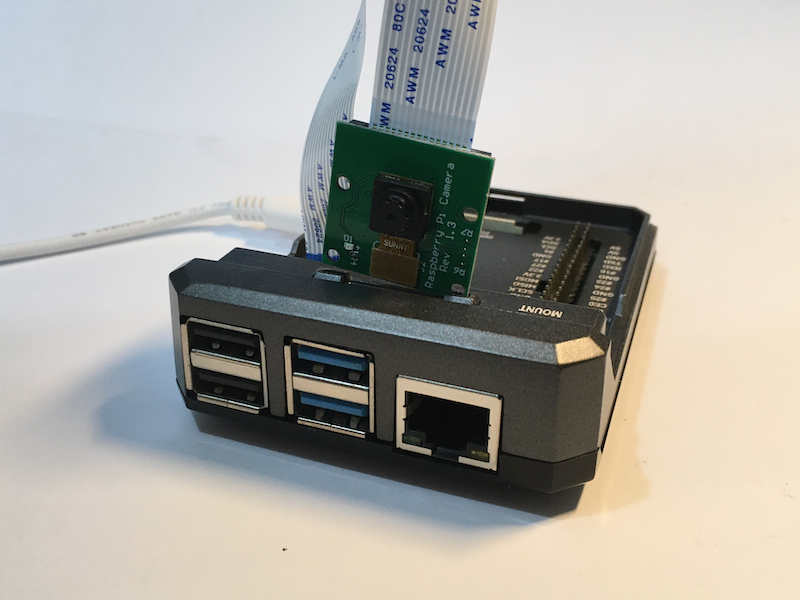
Introduction
In the previous tutorial, we installed TensorFlow Lite on Raspberry Pi, as well as performed image classification with pre-trained models.
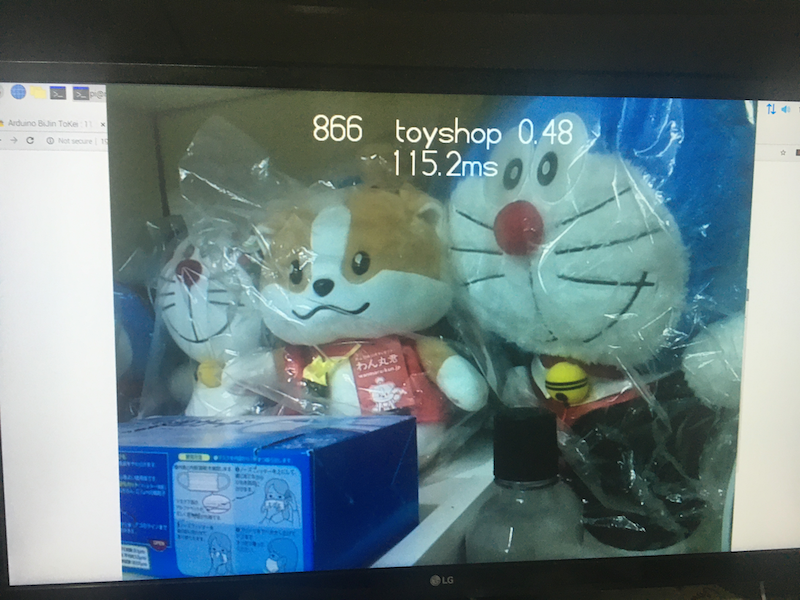
While pre-trained models can classify a variety of objects, it’s impossible for them to classify all kinds of objects with high accuracy because they are trained with a limited number of samples. Therefore, sometimes we need to train our own models to classify specific types of objects. However, training a neural network model involves a steep learning process and a lot of computational power. For novice makers, these are not something they have.
Fortunately, Google has a web application called Teachable Machine. It allows us to upload sample images to Google’s servers, train a model on the servers, and download the trained model in different formats. We don’t need to write a single line of code to obtain a workable image classification model. How cool is that!
In this tutorial, we will learn:
- how to train an image classification model with Teachable Machine
- how to deploy the exported TensorFlow lite model from Teachable Machine on Raspberry Pi
As a practice, we will train a model to recognize two types of objects: plastic bottles and aluminium cans.
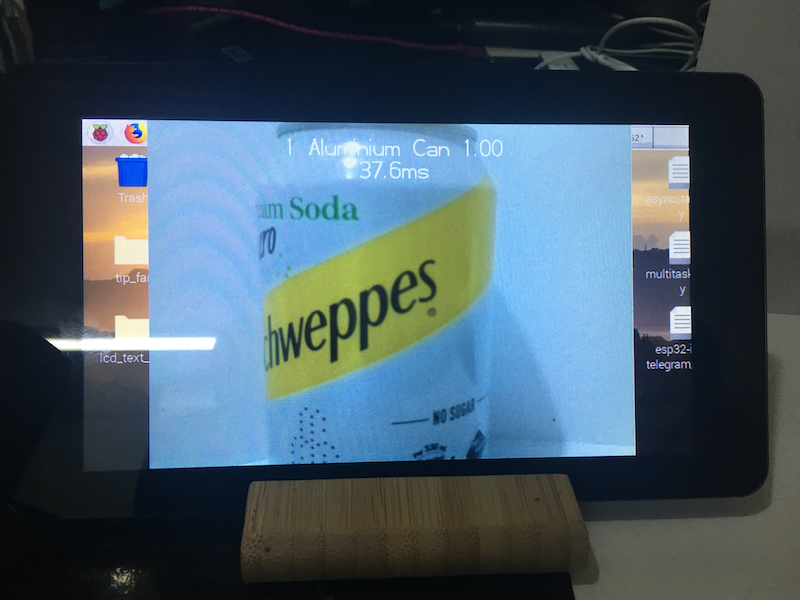
Materials and Tools
- Raspberry Pi (the model 4B+ is recommended)
- Camera module for Raspberry Pi
- Raspberry Pi Official 7” Display (optional, a normal HDMI display is fine)
- Some plastic bottles
- Some aluminium cans
Prerequitsites
Before the tutorial, make sure you have:
- understood the basic concept of image recognition with machine learning,
- configured the Raspberry Pi camera properly,
- created and activated a Python virtual environment,
- installed TensorFlow Lite runtime in the virtual environment
If you haven’t done them yet, follow this tutorial to do so.
Take the Sample Images
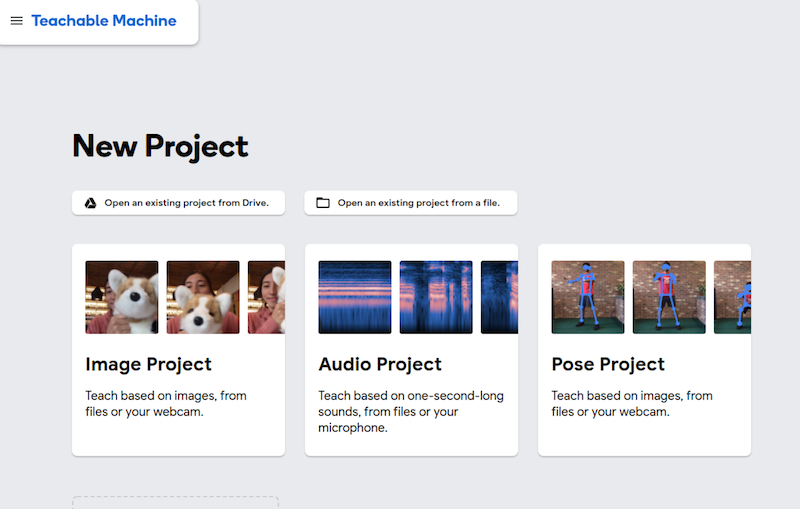
First, visit Google’s Teachable Machine and click Get Started. Then, select Image Project.
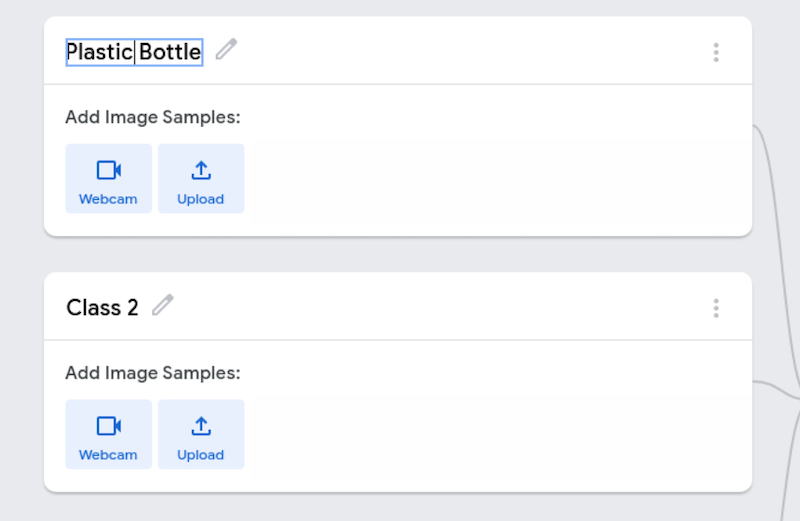
Change the name of the first class to ‘Plastic Bottle’. Then, click Web Cam and allow Teachable Machine to get access to the Raspberry Pi camera.
To get the sample images of an object, we put the object in front of a background, and take photos of it with the Raspberry Pi camera.
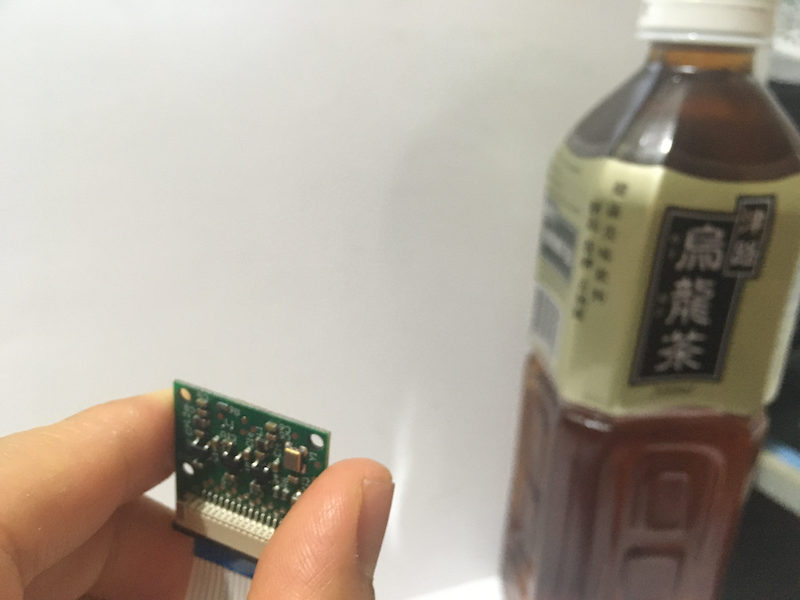
Put a plastic bottle in front of the camera. Press the Hold to record button to record some sample images. You may move the camera around the bottle such that the cameras can take samples at different angles. Take more samples with other plastic bottles.
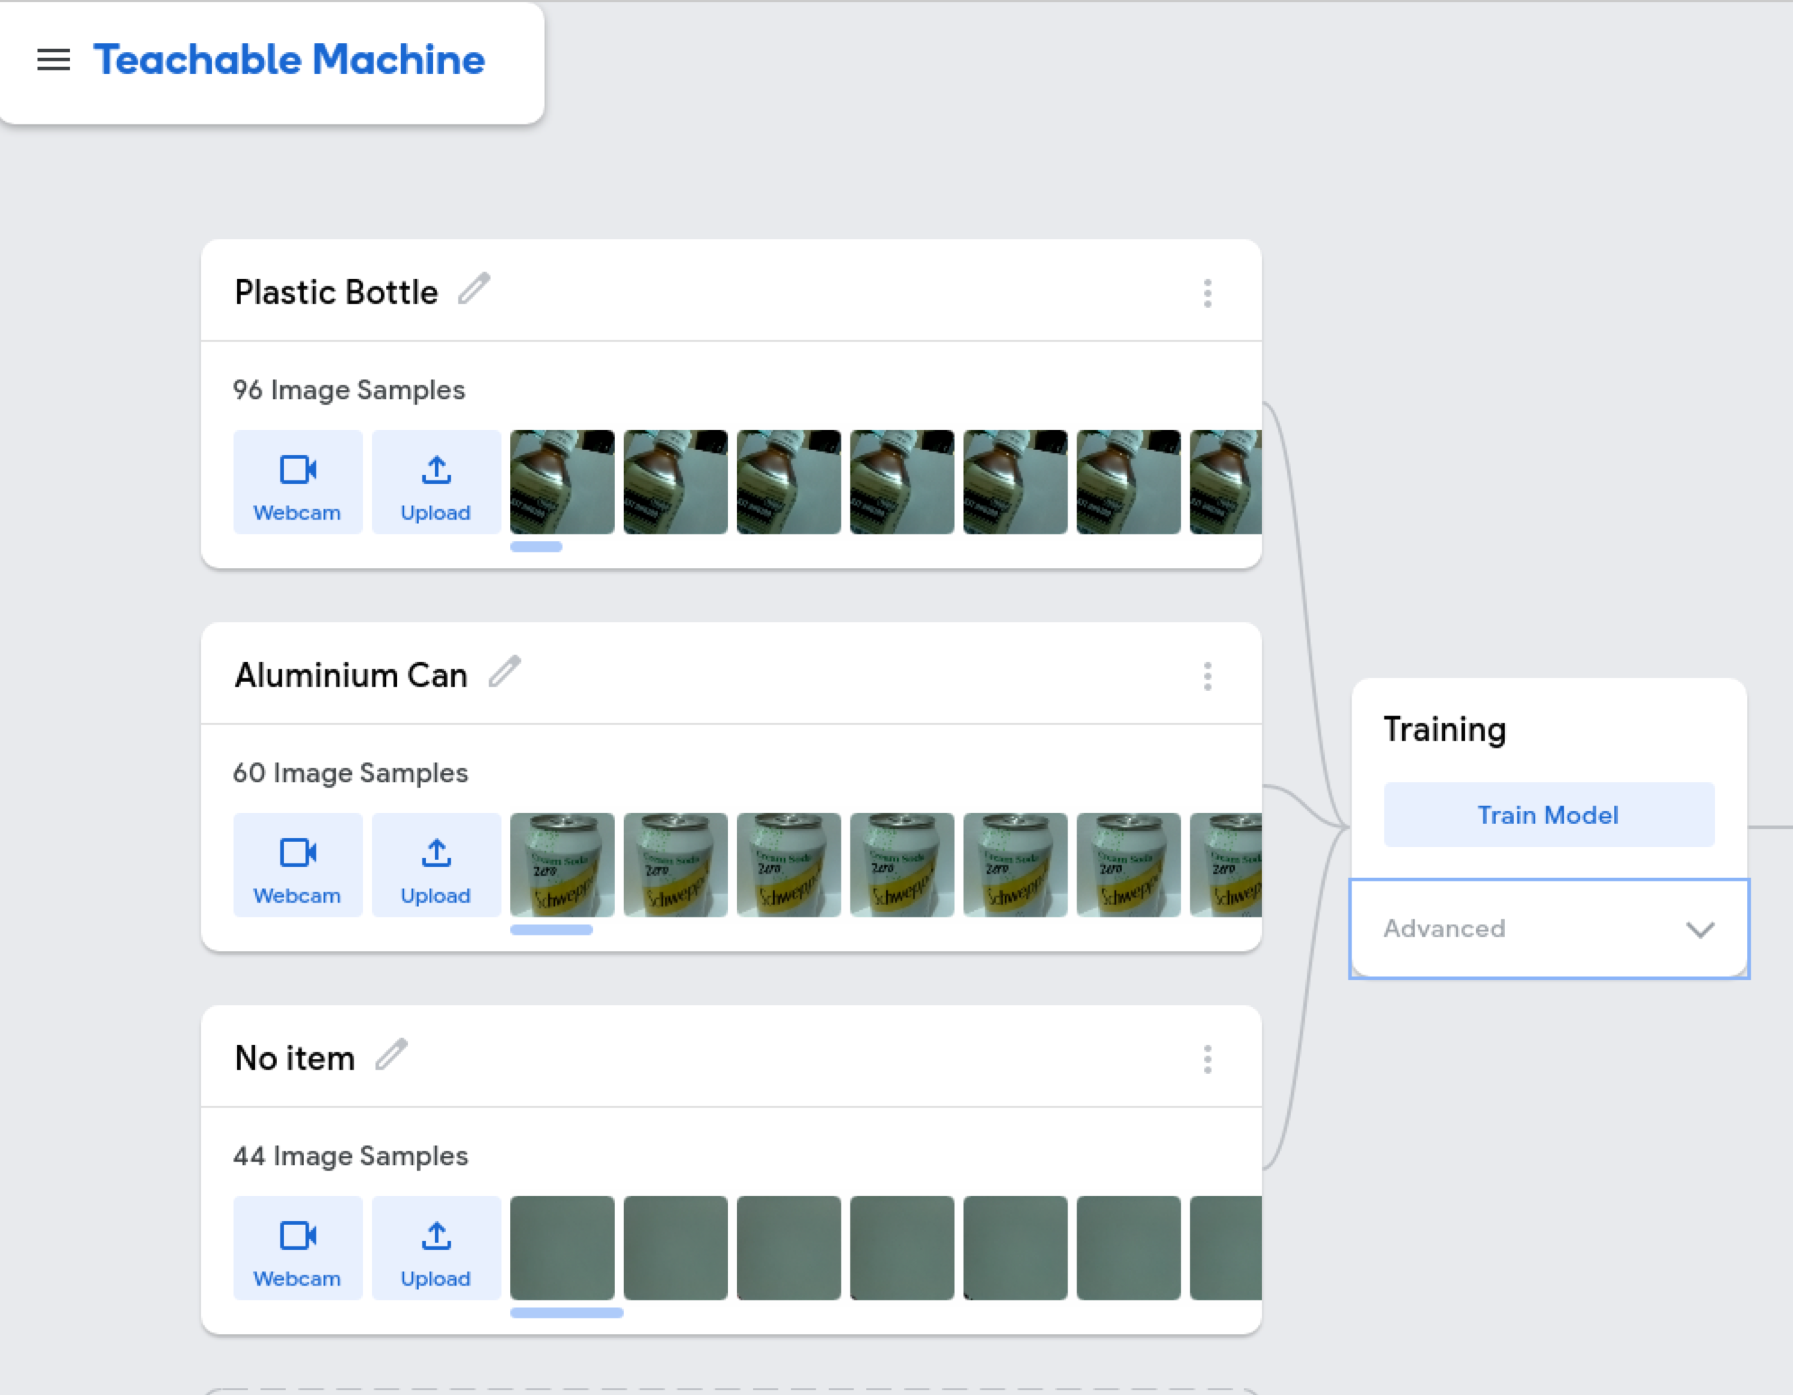
Similarly, create another class called ‘Aluminium Can’ and take some pictures of different aluminium cans as the samples for this class. Finally, click Add a class and create the third class ‘No item’. Take some pictures of the background as the samples for the ‘No item’ class.
Train the Model
After taking the samples, we can move on to the ‘Training’ section. If you just want to have a simple model, you can just hit the Train Model button directly. The images will be uploaded to the Teachable Machine server, and the training will begin.
NOTE: When training the model, do not switch to other tabs of the browser. Otherwise, the training can be paused.
NOTE: If the tab becomes unresponsive, just be patient and wait for a while.
While it’s not necessary, it’s good to have a look of the ‘Advanced’ menu below the Train Model button.
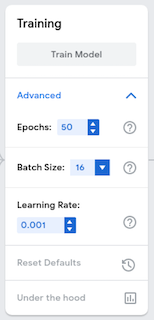
It contains several hyperparameters that are commonly seen when training neural networks. Let’s take this chance to explore these hyperparameters a bit.
Epoch: It’s the number of times that the entire set of training samples is fed to the neural network in the training process. Usually, the higher the number of epochs, the more accurate the model is, though there are quite a number of exceptions. The optimal number is often found experimentally.
Batch size: It’s the number of training samples that are fed to the neural network for one iteration of training. If the number of samples for training is N, and the batch size is b, then the number of iterations of calculating the gradient in each epoch is (N/b). If a GPU is available for the training, a larger batch size can take the advantage of the GPU and the training time can be reduced significantly. However, fewer iterations in each epoch may produce a less accurate model. Again, the optimal number is often found experimentally.
Learning rate: The step size for updating the weights in the model when doing the gradient descent.
To fully understand what these hyperparameters mean, you need to know the mathematics behind artificial neural network. That includes some basic linear algebra and calculus. Fortunately, the 3blue1brown Youtube channel introduces all of these things very clearly and concisely. You should definitely take a look of the following playlists if you are serious about machine learning:
You may experiment with different hyperparameters and see the effect on your model.
Download and Deploy the Model
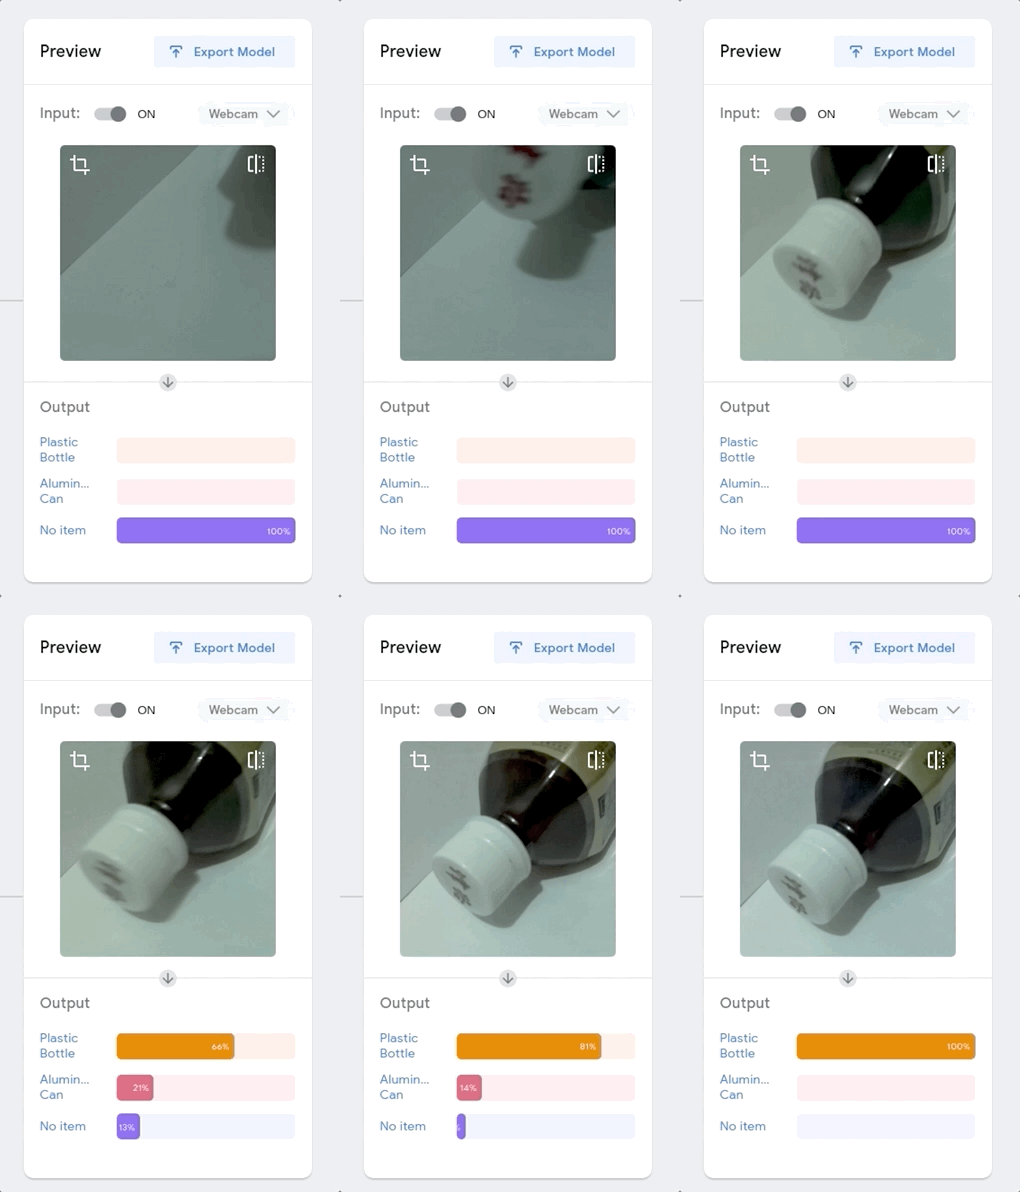
After the training is completed, you may try using the model immediately. Put a plastic bottle or an aluminium can in front of the camera. At the bottom part of the ‘Preview’ section, we can see how likely the model thinks the item is a plastic bottle, an aluminium can or just the background.
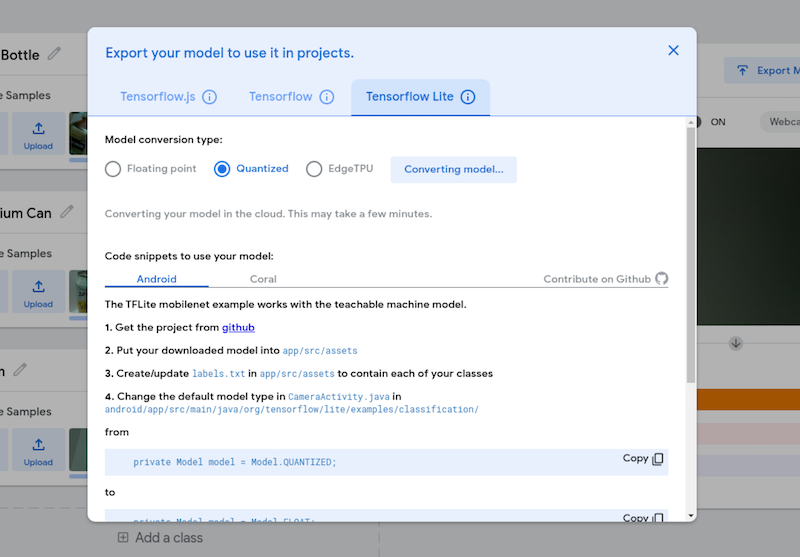
Click Export Model. The models can be exported in different formats for different TensorFlow runtimes. For us, we need to get the model for TensorFlow Lite. Click the TensorFlow Lite tag, then select Quantized, and finally click Download my model to download the model.
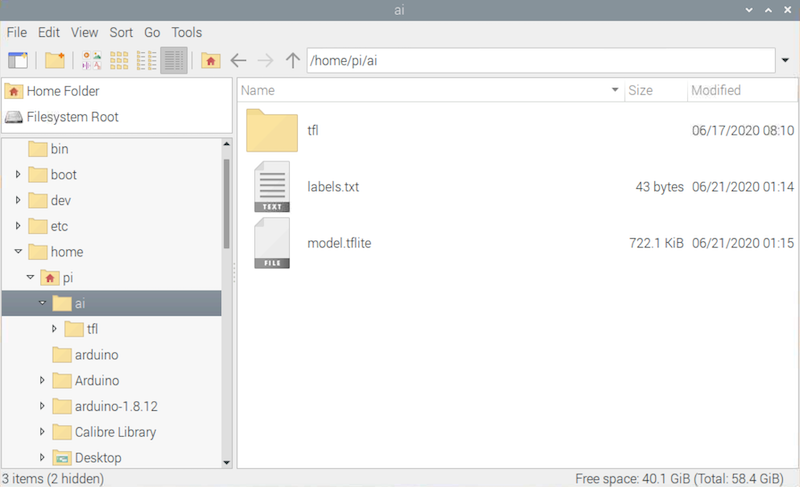
A zip file will be downloaded. Unzip it and move the extracted files to the ~/ai directory. The .tflite file is the TensorFlow Lite model file, and the .txt file is a text file containing the names of the classes.
In the terminal, we first download the TensorFlow Lite examples from its Github repository to the ~/ai directory.
(tfl) pi@raspberrypi:~/ai$ git clone https://github.com/tensorflow/examples.git
Then, navigate the folder containing the image classification Python script:
(tfl) pi@raspberrypi:~/ai$ cd examples/lite/examples/image_classification/raspberry_pi
Next, install the required libraries by using pip.
(tfl) pi@raspberrypi:~/ai$ pip install -r requirements.txt
Finally, we can run the program withour custom model to perform image classification:
(tfl) pi@raspberrypi:~/ai/examples/lite/examples/object_detection/raspberry_pi$ python classify_picamera.py \
  --model ~/ai/model.tflite \
  --labels ~/ai/labels.txt
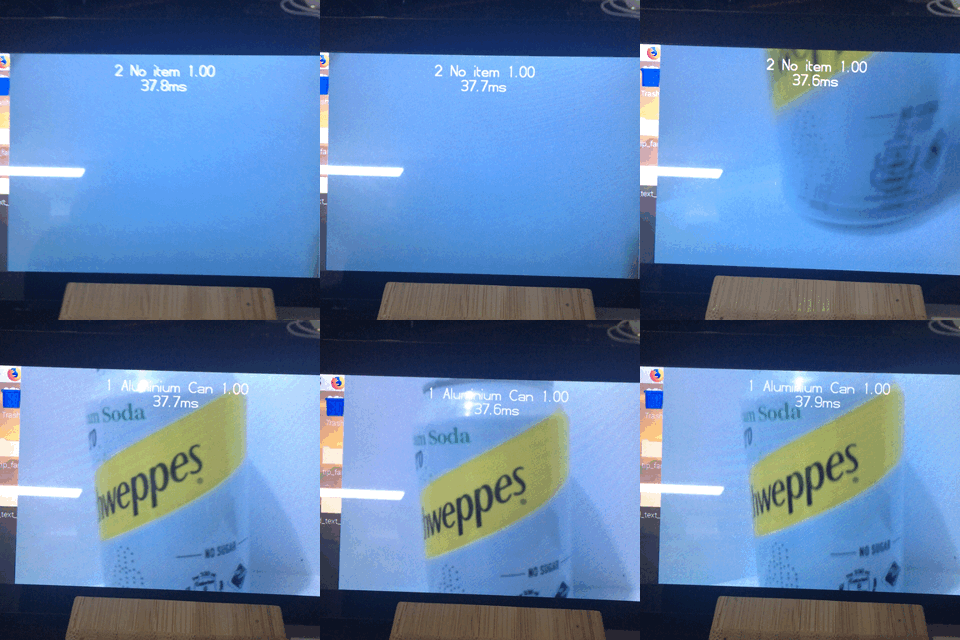
Conclusion
By using Google’s Teachable Machine, it’s possible to create custom image classification models without using an expensive powerful computer and writing lots of codes. When you look at the Python script detect_picamera.py that we just used, you may be surprised that the program is actually very simple. The TensorFlow Lite library does all the heavy-lifting for us. In fact, by some slight modifications on this program, we can use Google’s Coral USB Accelerator to increase the inference speed significantly. If we add the codes for controlling the Raspberry Pi’s GPIOs to this program, we can build our own AI machines like this Teachable Sorter. Stay tuned for the future tutorials on these amazing projects!